

Previous Story
3D Print, Paint, & Sew Baby Yoda
 Disney swung for the fences and smashed it out of the park with “The Mandalorian” TV series. Its simple story lines have the feel of a western with some sci-fi sprinkled about. The special effects are movie quality, realistic, and not too distracting. The writers dug deep into the bag of Star Wars nostalgia. It is so refreshing to see the planets and characters that we know and love from previous films. One of the most talked about and memorable characters from the series is “the child”. The child has got to be one of the cutest puppets ever devised. He/she is a cross between Yoda and Gizmo from “Gremlins”. After a few episodes, I wanted my own Mandalorian child. Disney will eventually release a “child” plush toy, but who can wait that long?
3D designer: Project 842, has drawn up some BEAUTIFUL renders of the child. The STL files are available for free. Project 842 asks simply to take whatever money you think the files may be worth and use it to buy a toy for a child in need. If you do decide to proceed, please consider donating a toy, taking a photo of the donation, and posting it on social media with #toydrive842.
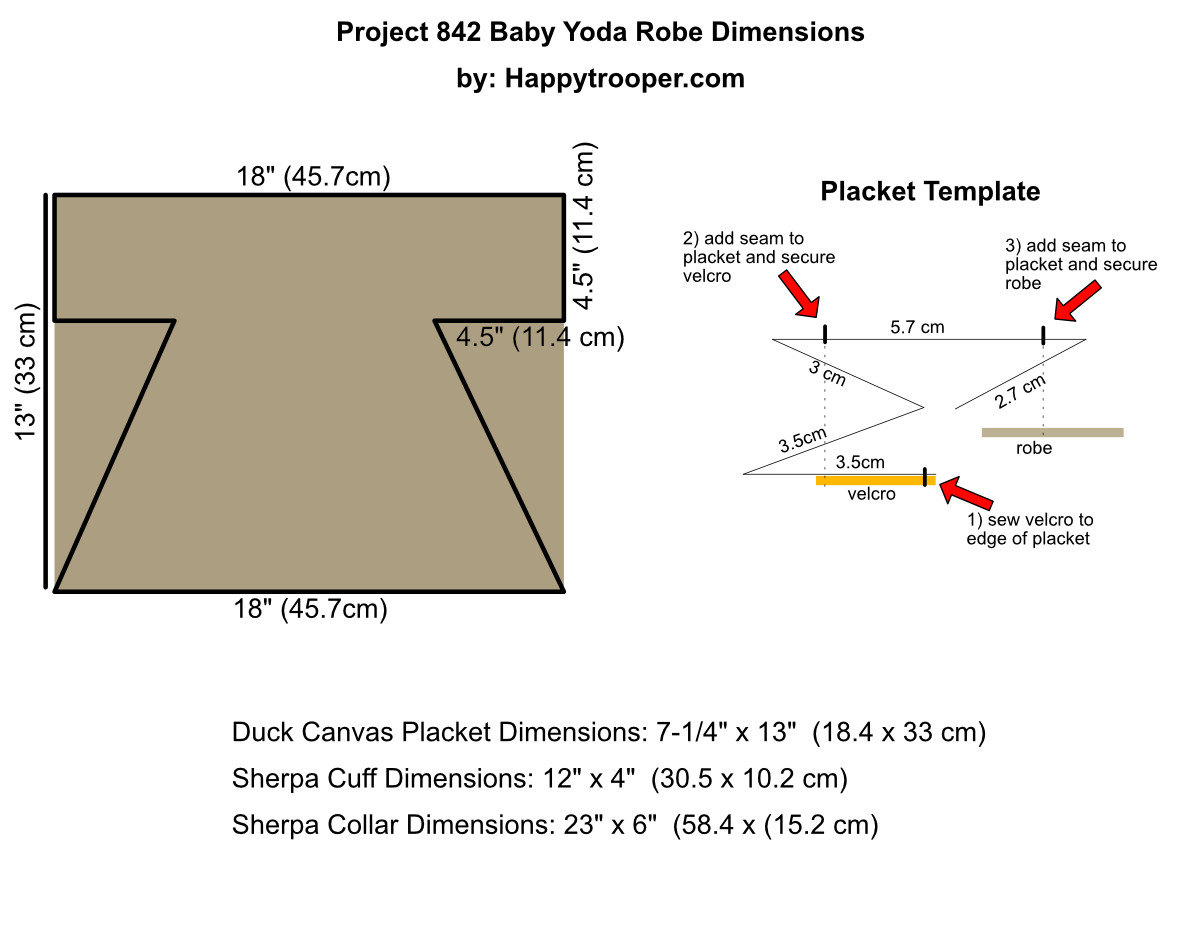
This project will test your 3D printing, painting, and sewing skills. The reward is definitely worth the effort. While I am somewhat comfortable on the workbench with paints and the like, I am not so comfortable behind a sewing machine. I rolled up my armor and gave it my best. After seeing the sewing portion of the video, some of you more accomplished seamsters/seamstresses will most likely be cringing at the methods used. Please make any improvements to the robe, and the whole toy for that matter. Here is a robe template that I stole off of some Jawas & sized down for the child.
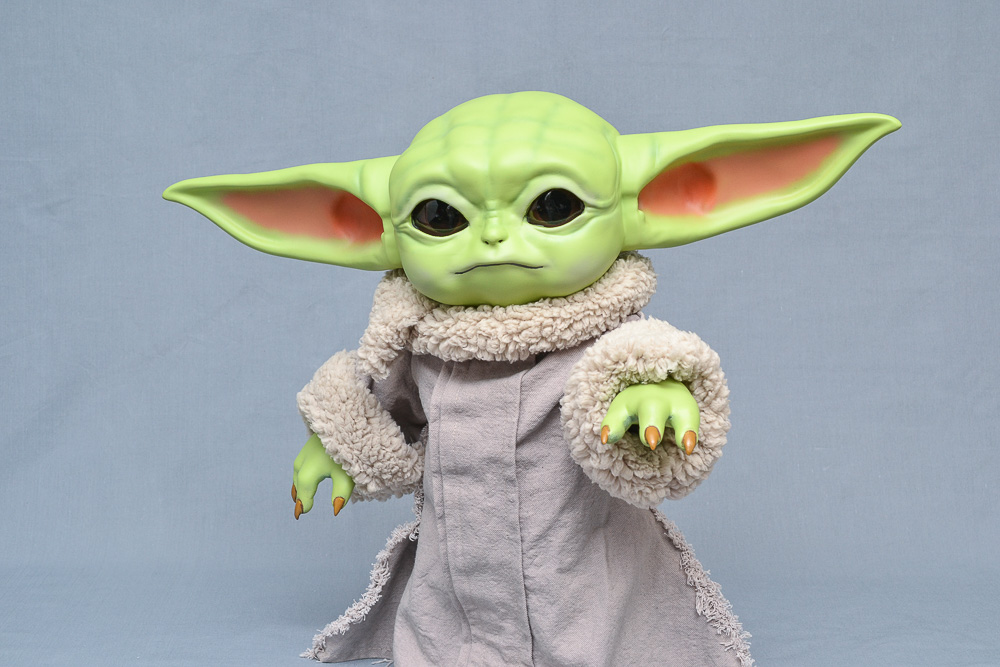
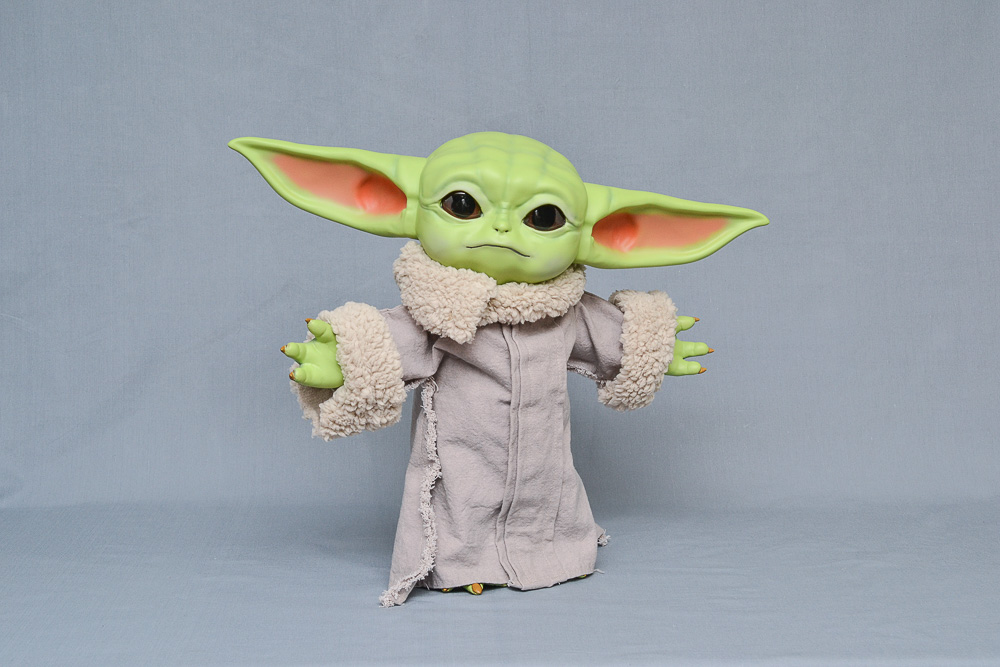
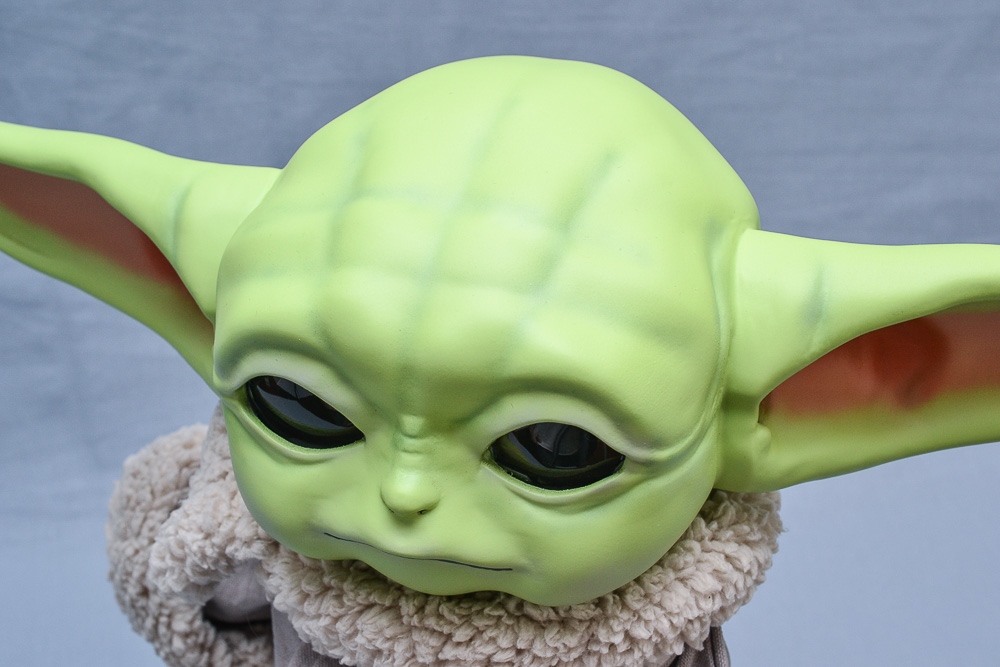
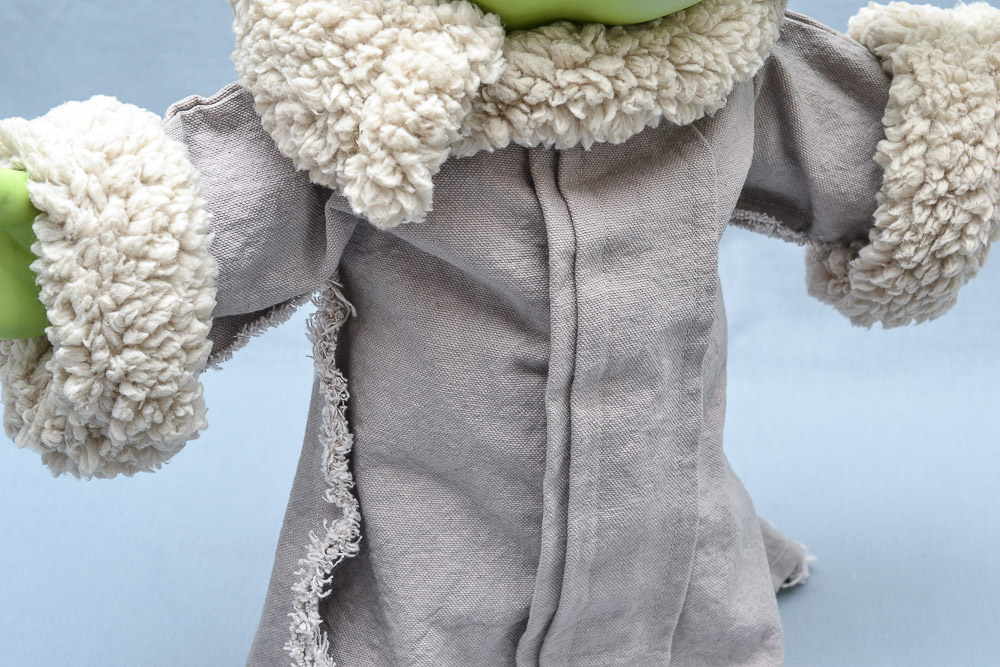
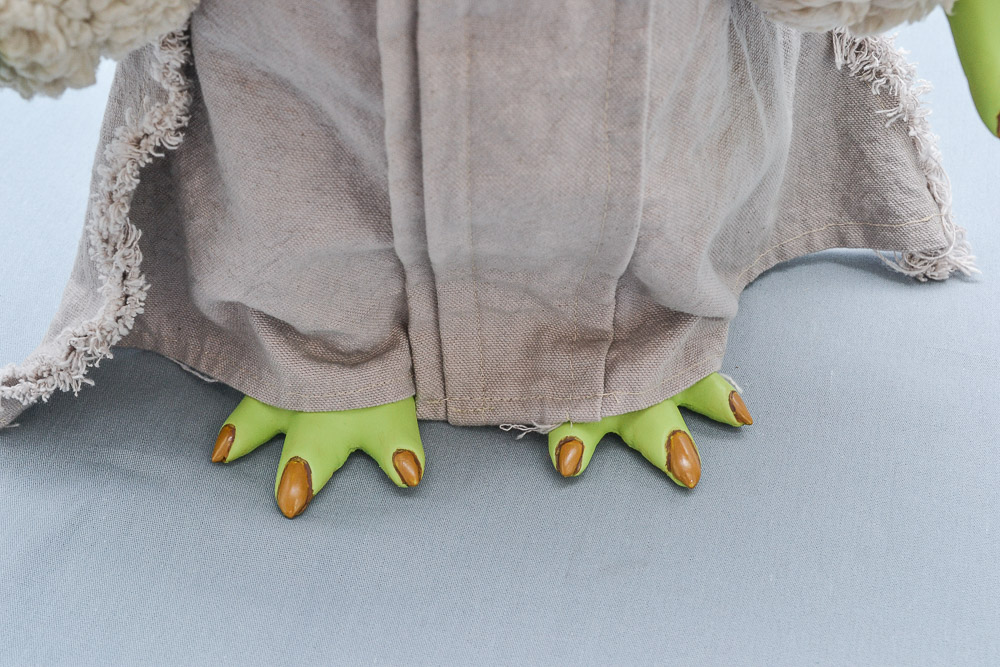
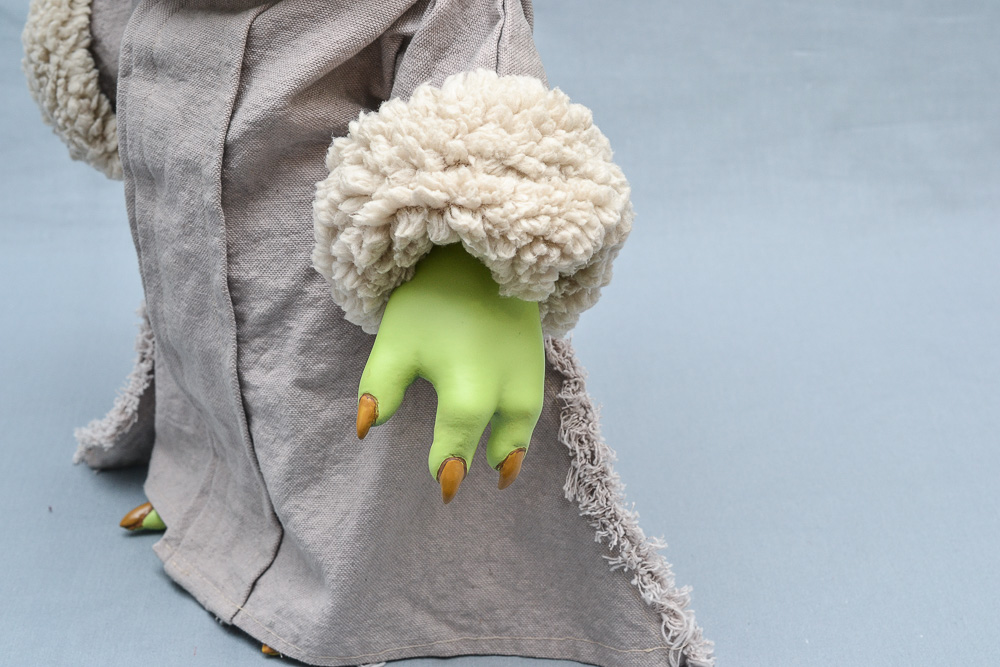
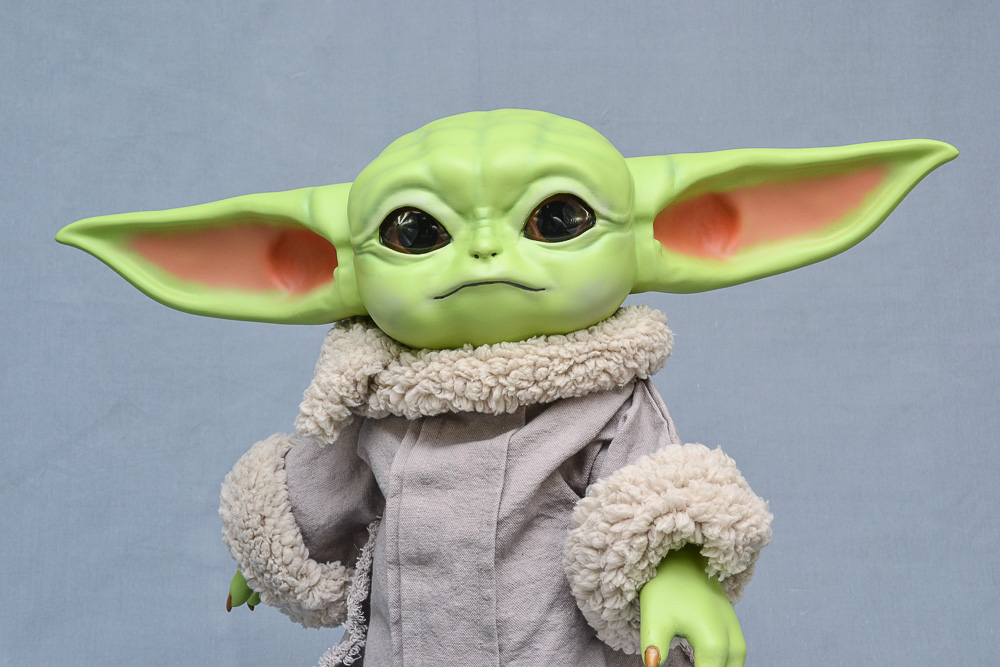
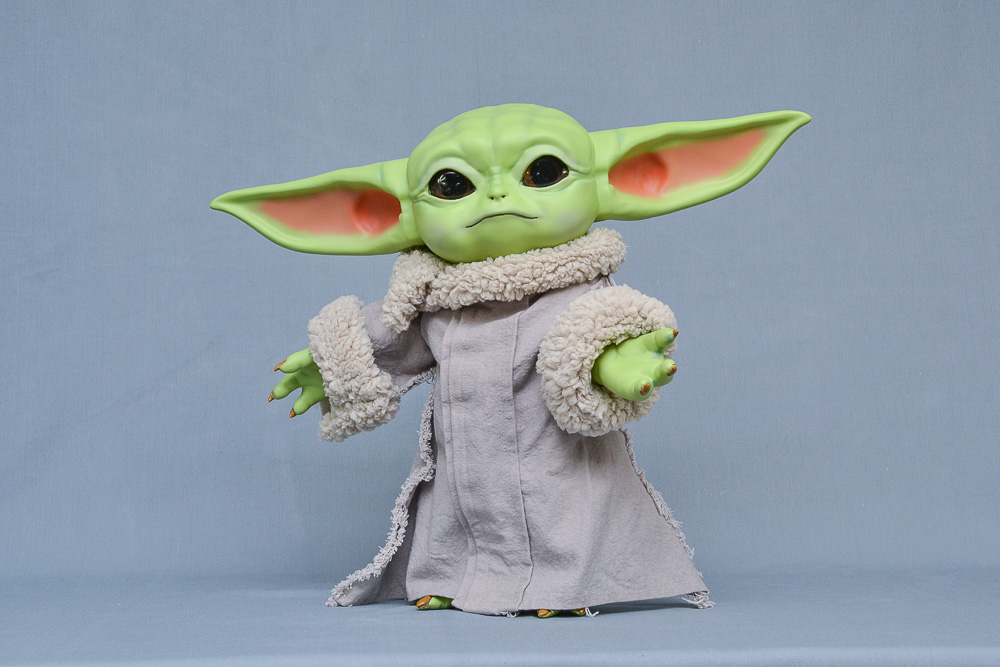
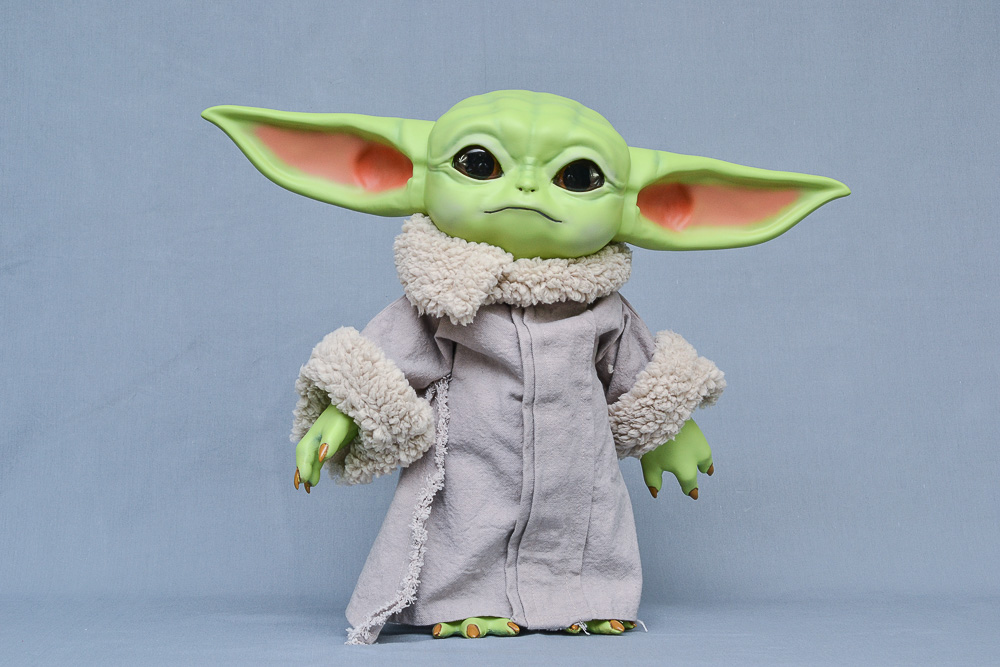
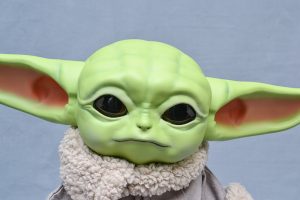
Here are a few photos of the finished product.
In true HappyTrooper fashion, I detailed my build experience in video format. This is by no means the only way to build a Mandalorian child. Feel free to change any of the methods, materials, and tools used in this video. Hopefully you can improve on the build and design.
Build Materials Used to Construct The Child
Robe and Placket Template FREE (PDF Format)
3D Print STL Files from Project 842 FREE
3D Print Filament (just over 1 roll)
50mm glass cabochons x 2
M3 x 20, 35, and 50mm screws/nuts
Canvas Duck Cloth: 2 yards (includes extra)
Faux Sherpa Fabric: ½ yard (includes extra)
Beige thread
¾” width sew-on Velcro strip (need about 12” length)
Paints/Dyes Used for Construction
Rustoleum Filler Primer (1 can)
Rustoleum Satin Green Apple Spray Paint
Testors Flat Tan Enamel (outer ears)
Testors Orange Enamel (inner ears)
Testors Flat Battle Gray Enamel (cheeks, eyelids, mouth)
Krylon Clear Flat Spray
Black Acrylic Paint
Brown Acrylic Paint
Yellow Ochre Acrylic Paint
Clear Acrylic Gloss
Rit All Purpose Taupe
Rit All Purpose Charcoal Gray
Rit Dye More for Synthetics Chocolate Brown
Rit Dye More for Synthetics Frost Gray
Sally Hansen Insta-Dry Black Nail Polish
Essie: Seeing Stars Nail Polish
Tools & Other Construction Materials
3D Printer
Sandpaper (120, 220, 400 grit)
Filler Putty
SCIGrip #16 Adhesive
JBWeld Plastic Bonder Epoxy
E6000 Adhesive
1mm Plastic Sign (any scrap plastic)
Airbrush (optional)
Rotary Tool (optional)
Heat Gun (optional)
Sewing Machine
Large Pot for Dyeing Fabric
Acknowledgements
Project 842: please check their other Star Wars 3D designs here
Project 842 on Facebook
Fantasy Piano Background Music by: EberleMaxim available at Envato
Yvonne Williams Creature Eye Tutorial on YouTube
Beautiful replica of yoda… very impressive, and detailed.. thank you for sharing your talent…diana