

Previous Story
Paint a 3D printed C-3PO head & add light/sound
 Until recently, it was difficult & expensive to obtain a C-3PO head mold. Thanks to Jesse M, C-3PO’s head, and entire body, can now be 3D printed. Those files are available for free on thingiverse.com
I wanted to make a C-3PO head for both display purposes, and as a prop for my daughter’s Jawa costume. In this post, I will take you through my 3D print finishing and painting process. We’ll top things off with some off-the-shelf electronics to illuminate C-3PO’s eyes, and give him a voice.
Before jumping in, let’s talk about painting C-3PO. In the films, he has a reflective gold chrome finish. There are a few ways to attack 3PO’s paint job. They can be compared to seats on an airline.
– In the economy section of the aircraft, we have spray paint. It is readily available, the learning curve isn’t very steep, and it is inexpensive. This is an affordable option, however, the economy seats don’t provide a good reflective finish, the flakes in the spray paint are too large. There is nothing wrong with taking the spray paint route. If you are building this for a child, and it may get beat up a bit, perhaps spray paint is the way to go. Its also easy to apply touch-ups with spray paint. You could even skip spray paint altogether and print in gold filament if you don’t mind printing lines.
– Moving up to business class, an airbrush can be used. There are some airbrush paints on the market that can produce a convincing semi-reflective finish. Please note, when tinting and clear coating over chrome airbrush paint, some of the reflective qualities are lost. The finish is a bit muted, which may be good if you are looking for a slightly weathered protocol droid head. Business class is a tad more expensive, because an airbrush is required, and multiple types of paints are needed to simulate gold chrome.
– In first class, a near movie quality finish can be obtained by metalizing C-3PO’s head. This will produce a beautiful reflective finish, but it is expensive. Most people do not have the equipment in their homes to metalize objects. You will need to ship your C-3PO parts (& money) to a specialist. I do not have a ballpark price for metalizing a head, but I’ve heard the going rate for a full C-3PO suit is around $1000. There are paint formulas that you can use at home, but it will require a spray gun and a decent sized compressor.
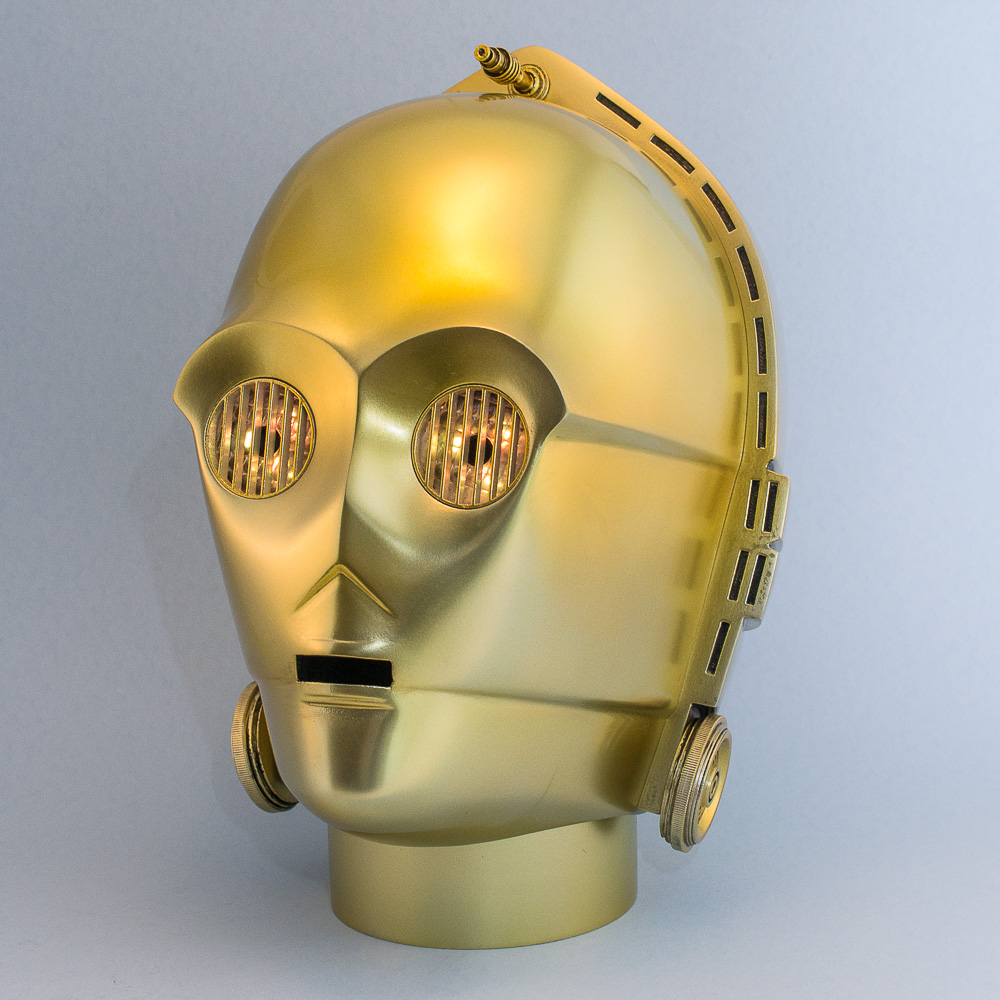
In this post, we’ll focus on the business class finish. I have access to an airbrush, & I’ll try to get as close to a gold chrome finish as I can working out of my garage. It would be nice to go with a first class finish, but I don’t have the room for the equipment, and I will try working with the tools that I already have on hand.
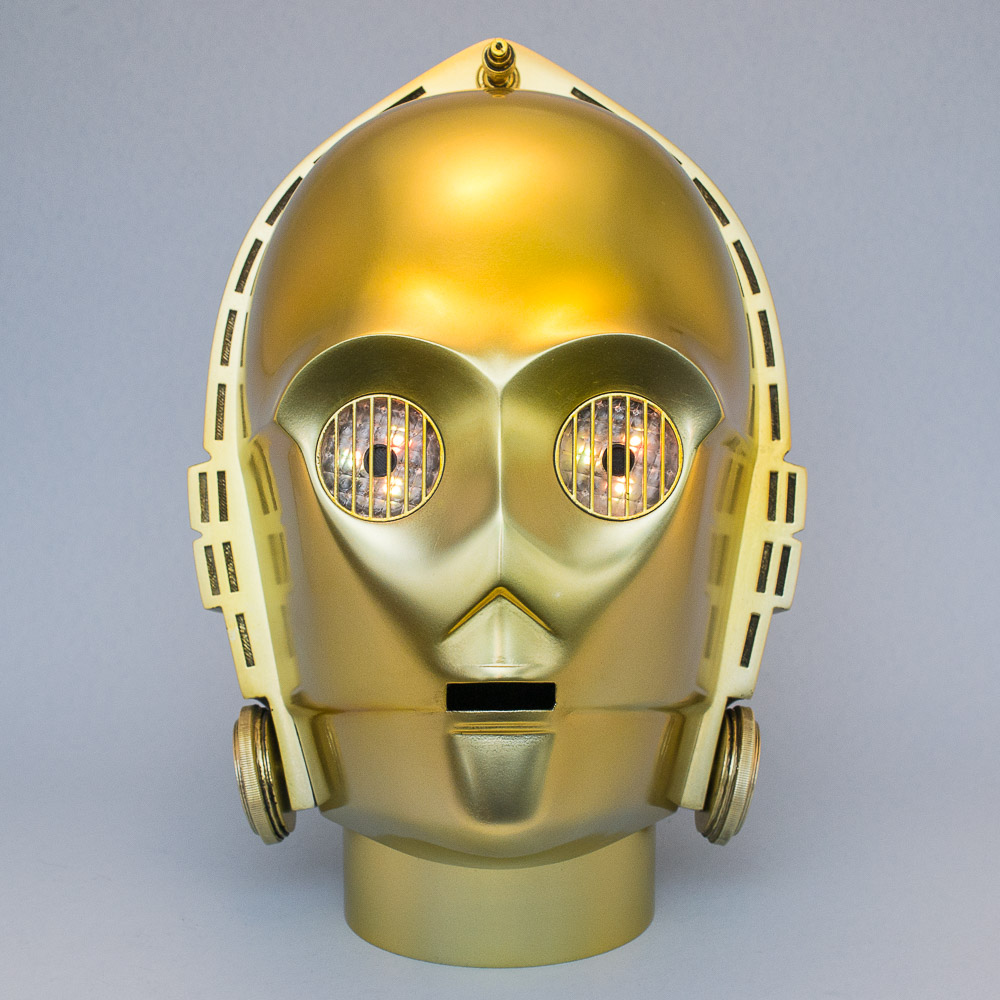
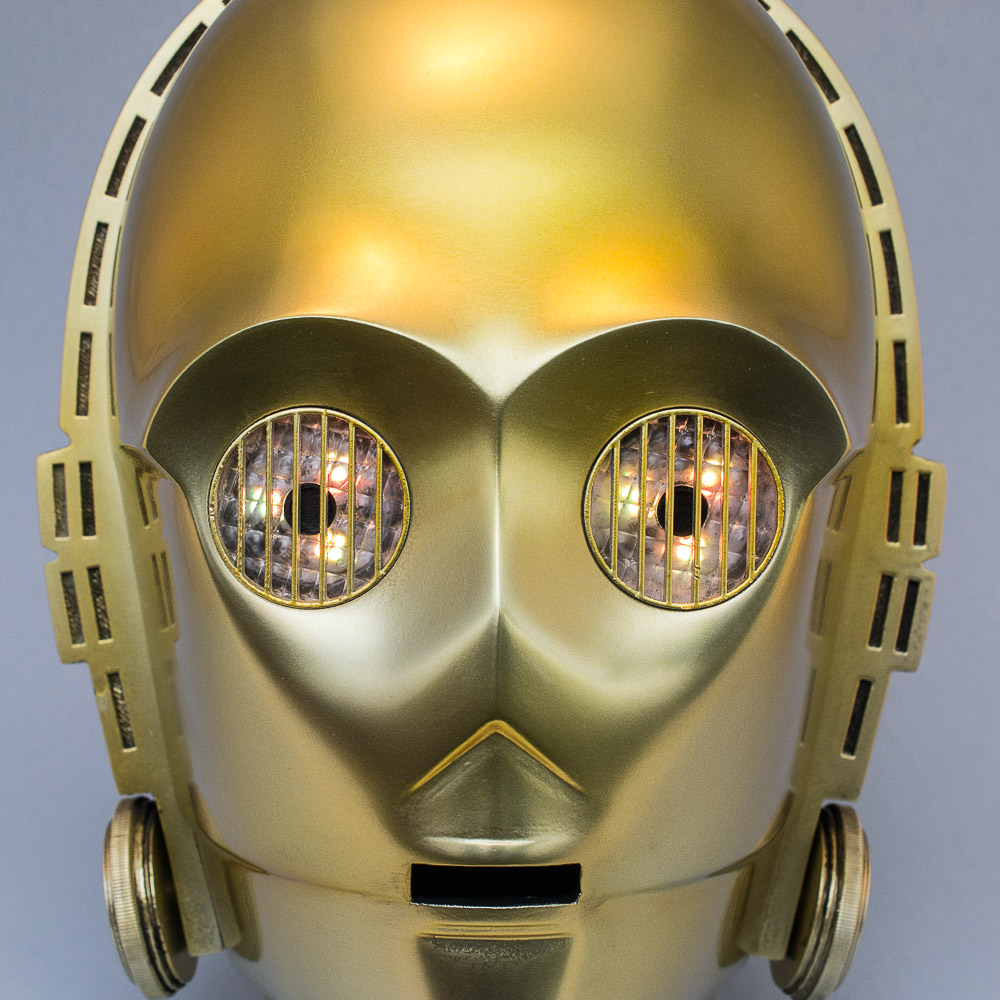
Let’s roll up our armor and jump in! The video below shows the procedures that I used to construct and paint C-3PO’s head. Illuminated eyes and a bluetooth speaker were added to bring C-3PO to life. Both of which are remote controlled.
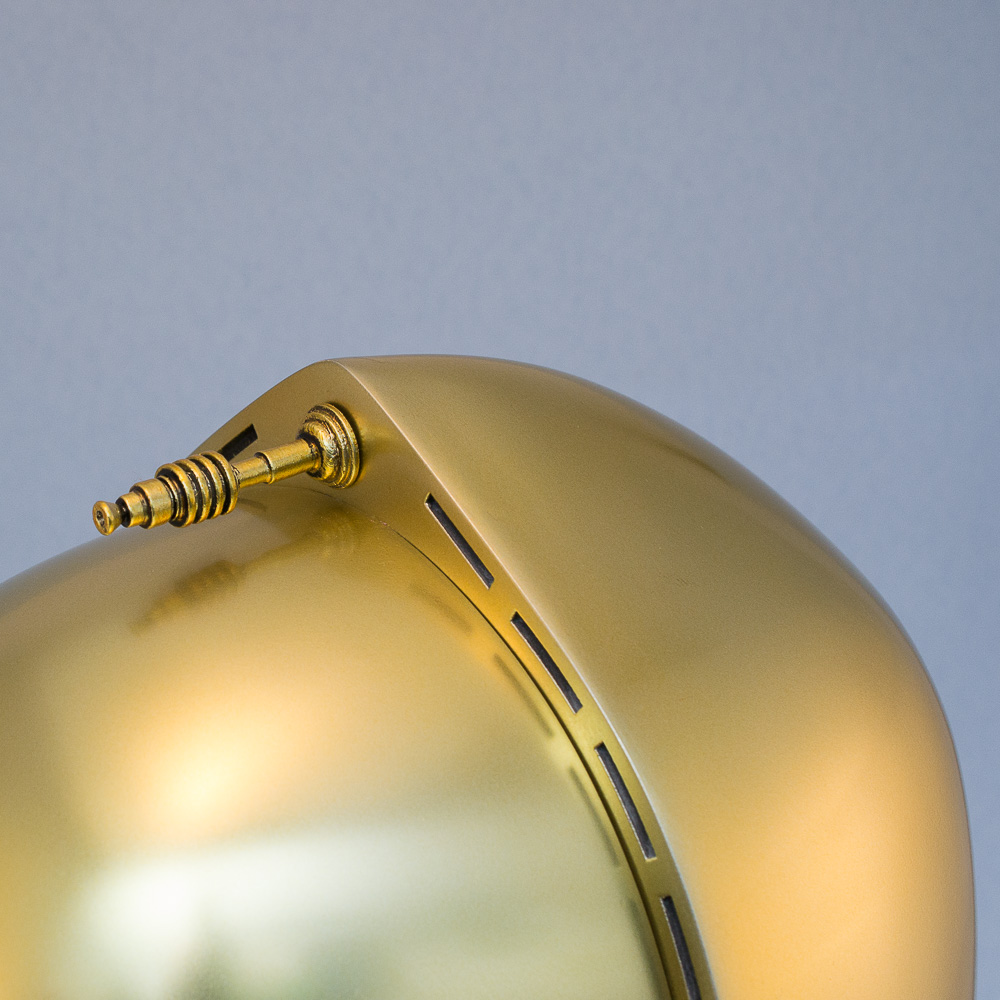
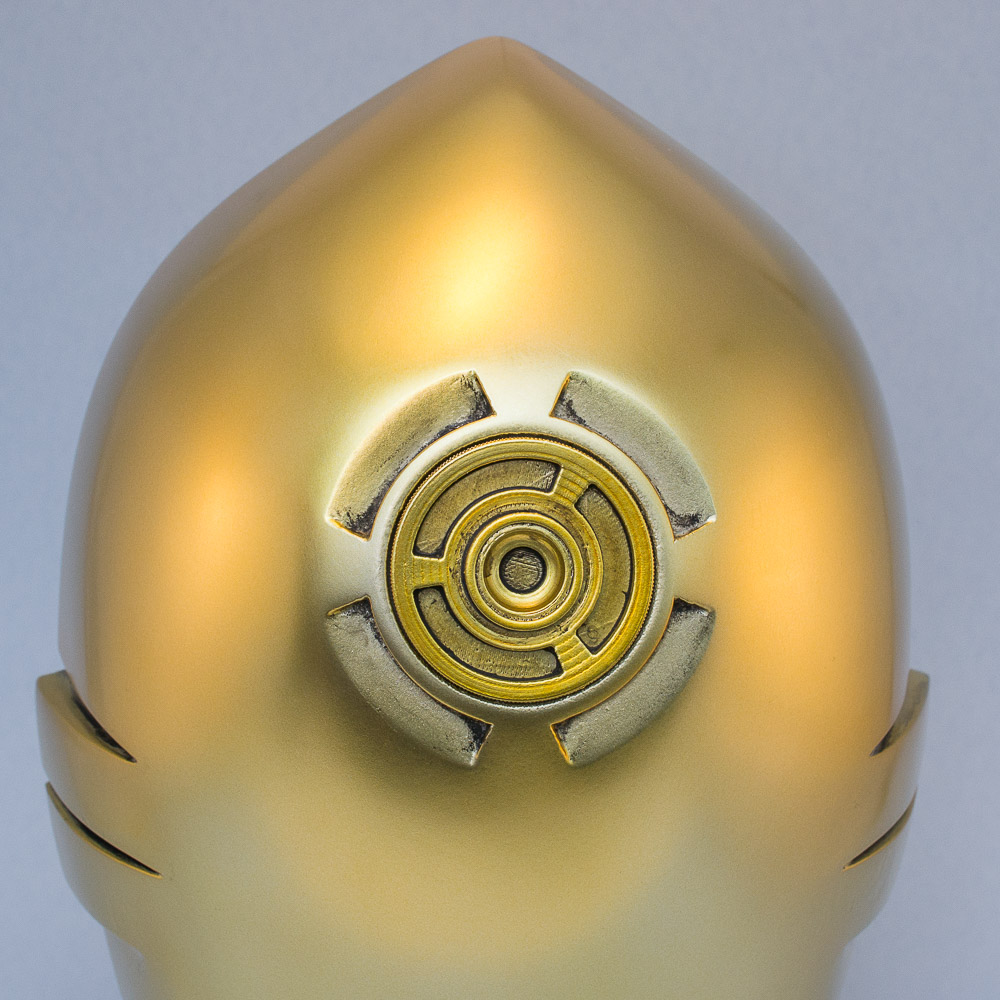
Here are a few photos of the finished product:
FREE Downloads
C-3PO Sounds
Eye tube/grid STLs and lens template
Materials
Tea Lights w/ Remote Control from Amazon ~$20 for 10
Bluetooth Speaker from Amazon ~$15
Prismatic Clear Acrylic Light Panel from Home Depot ~11
2 x #6-32 1-inch Round Head Machine Screws Amazon ~1$
1 spool of 3D print filament
Tools
3D printer from Amazon
Rotary Tool from Amazon
Sandpaper 120 – 2000 grit
Airbrush & Compressor from Amazon
Paints
Filler Primer
Gloss White
Clear Gloss
Meguiar’s Ultimate Compound
Spaz Stix Mirror Chrome from Amazon
Tamiya Clear Yellow Acrylic X-24 from Amazon
Tamiya Clear Red Acrylic X-27 from Amazon
Tamiya Acrylic Thinner X-20A from Amazon
Alclad Aqua Gloss Acrylic from Amazon
Adhesives
Epoxy
Testors Clear Parts Cement from Amazon
E6000
CA Glue
Acknowledgements
Jesse Maricelli on Thingiverse
TK409’s lighted eye plans
Soundtrack: “New Future” by Soundroll
Sci-Fi Interfaces from Envato Market
I loved reading this, I’m in the same boat you are. Grew up on Star Wars and wanted nothing else. I just bought a CR 10 a couple of weeks ago and I’m working on this same project. It’s been a slow couple of weeks getting my feet wet with 3D printing. But I’ve got the hang of it now and we’re flying.