
Previous Story
DIY Battlefront Greedo DT-12 Heavy Blaster Pistol
 Despite having a screen time of about 1 minute AND getting killed, one of the most memorable characters in the Star Wars Universe is Greedo. He’s quasi-reptilian with a stylish flight suit AND he’s a bounty hunter, which automatically makes him cool. Greedo’s blaster pistol gets about as much screen time as Greedo himself, as he holds up Han Solo at gunpoint in Mos Eisley Cantina. Let’s take a look at Greedo’s weapon of choice, the DT-12 Heavy Blaster Pistol. Specifically the Battlefront version. The original DT-12 from A New Hope was simply flat black. The Battlefront version gives the blaster a little more character with wooden colored grips, a gunmetal barrel, and silver detailed parts.
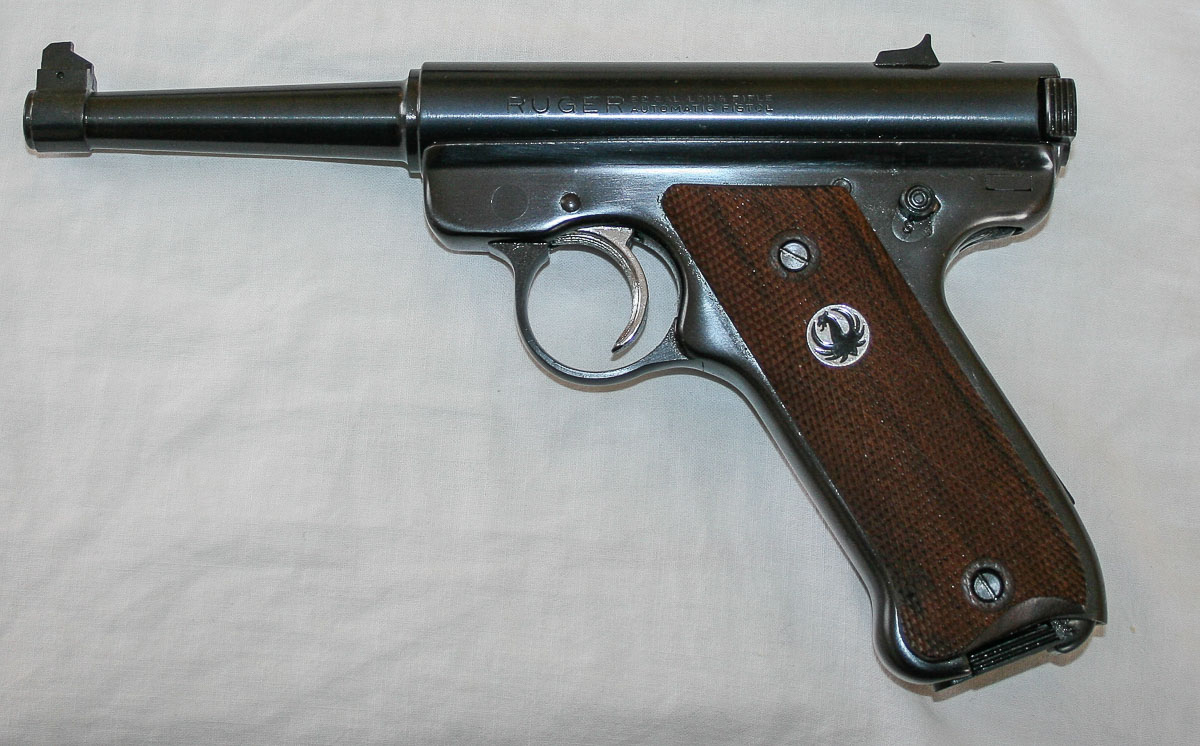
The prop gun that was used in A New Hope was a Ruger Mk 1. While doing some research on Greedo’s weapon, I checked The Parts of Star Wars webpage and therpf.com forums for some more info. According to these sites, the greeblies affixed to Greedo’s blaster were from a plastic model airplane kit. Other parts appear to be from Transrotor/Transcriptor turntable accessories.
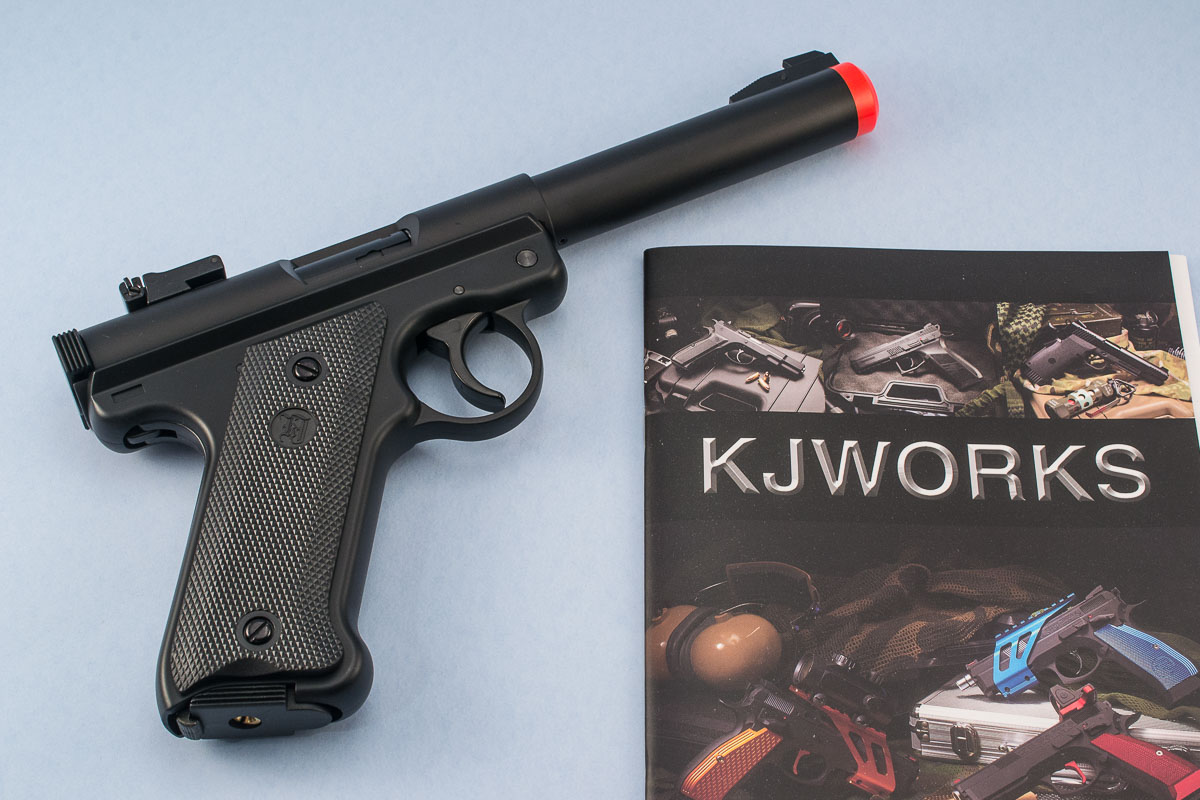
Now we know Greedo used a Ruger Mk1 with some plastic model & turnable parts. Let’s roll up our sleeves and get busy. When putting together a DT-12, you have a few options. If you have access to a 3D printer, you can print the whole thing using plans from thingiverse.com. If you want to go hybrid like the prop makers from A New Hope, stay with me & keep reading. Acquiring a real Mk 1 today, will run you a few hundred dollars. Let’s set the bar a little lower and go with a replica. KJ Works produces an airsoft pistol very closely resembling the real deal. You can pick up the KJ Works Mk 1 for about $45 shipped. I purchased one on Amazon. Here it is:
Why go with the airsoft replica instead of printing everything?
- you’ll have the solid weight of a handgun WITH trigger action, the main body/trigger of the KJ Works Mk1 is metal
- the grip and the barrel is already there for you, saving you time and filament, no need to prime and fill that giant 3D printed job to get rid of all those ridges
- you’ll be building just like the ANH prop makers did back in 1976-77
The airsoft does have a few inaccuracies when comparing to the real Ruger Mk1:
- the barrel is not tapered and is missing the ring
- the rear sight is not accurate
- the Ruger logo is missing on the grips, and the Ruger type is not on the barrel
With the KJ Works Mk 1 acquired, I began printing the remaining parts to attach to the soon-to-be DT-12 Heavy Blaster Pistol. Thingiverse member: Straeker has provided the STL files for the entire DT-12 blaster. I pulled the required files from his collection and made a few minor modifications. My modified Straeker DT-12 STL files can be found on thingiverse.com.
Again, all credit goes to Straeker for providing us with the original files. Here are the modifications that I made:
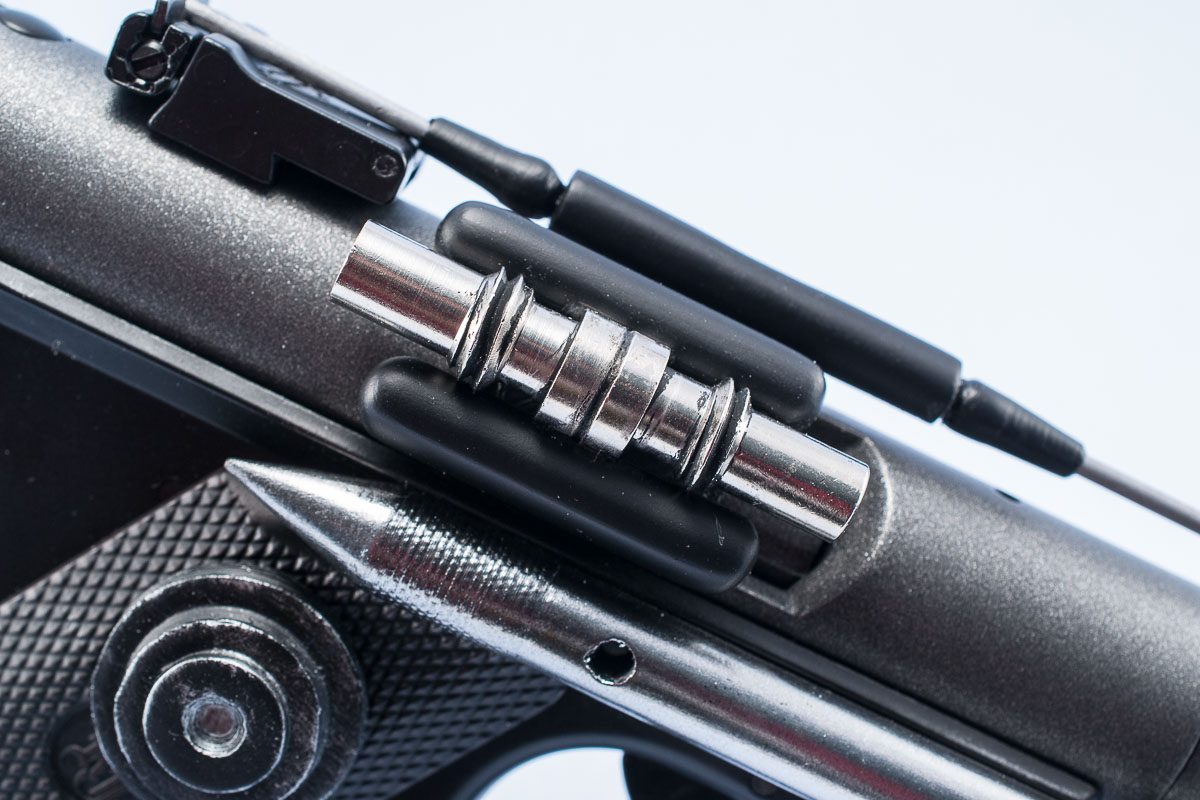
- The Merr_sonn power twinkies and the Imperial power disks came in a set of 5 in the zip file, I split them into 1 and 2 respectively, because there is no need to print 5 each.
- I split the screw on twinkies (PL-259 UG-175 coax reducers) into halves because of the overhang on the rings. You can 3D print these, but I recommend spending about $5 to get some real metal UG-175 reducers.
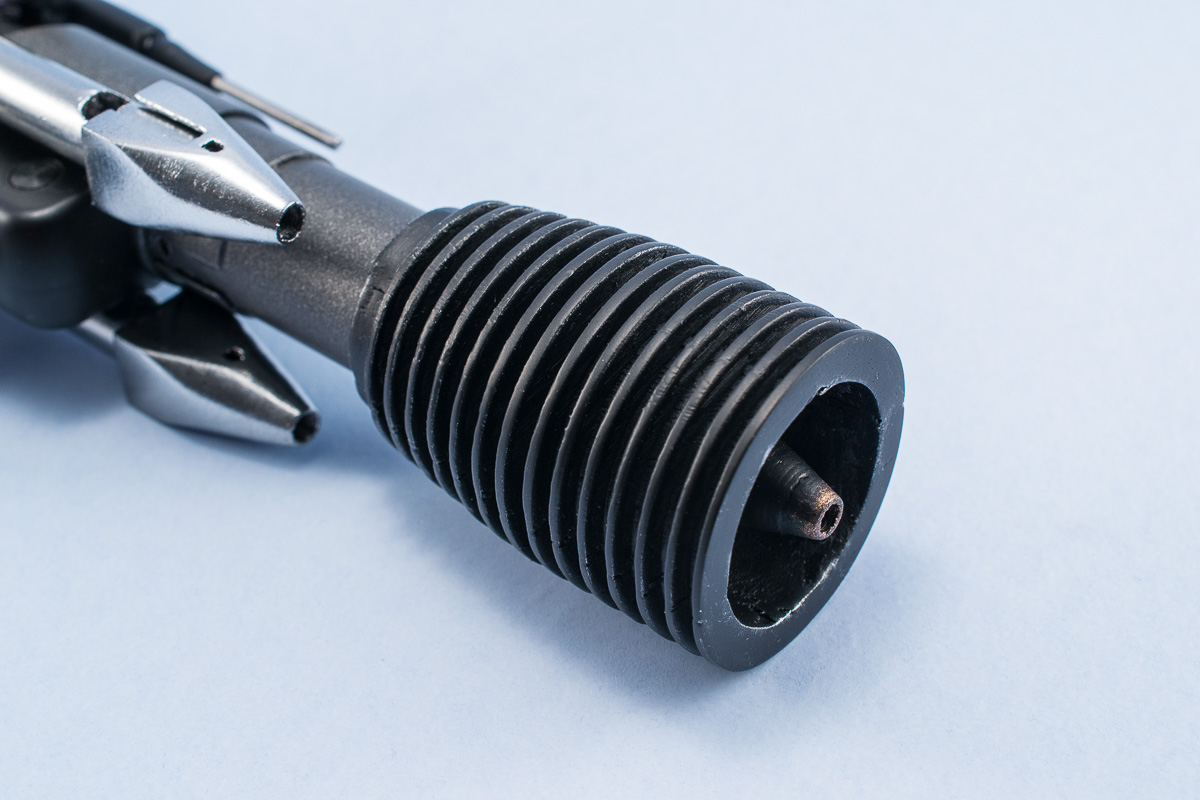
- I increased the size of the flash hider “muzzle” and the cone to fit around the airsoft barrel, it was increased by 1.16%. That gave me about 1mm of free space that needed to be filled with 1 rotation of friction tape.
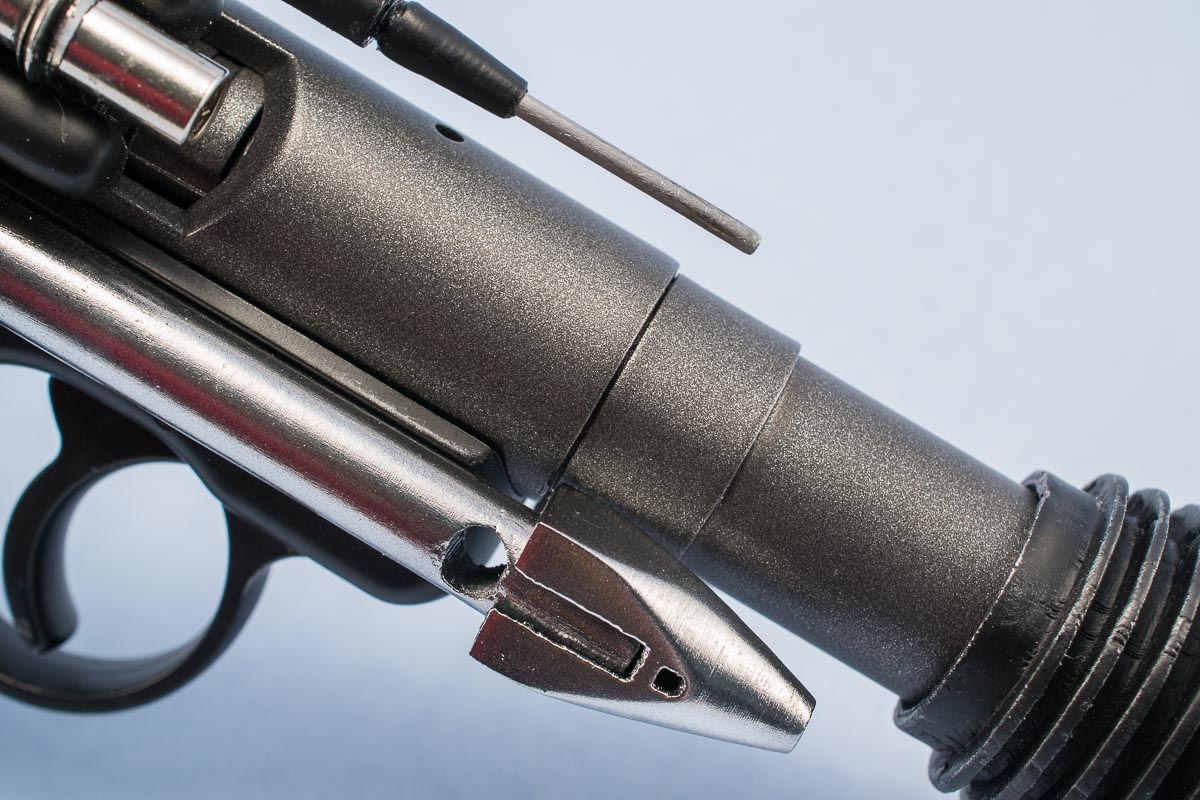
- I created a taper ring to go around the barrel, as it is not present on the KJ Works MK1 airsoft pistol.
- I created 2 extension pieces, 1 for the power twinky assembly, and 1 for the cone in the flash hider.
Let’s get started!
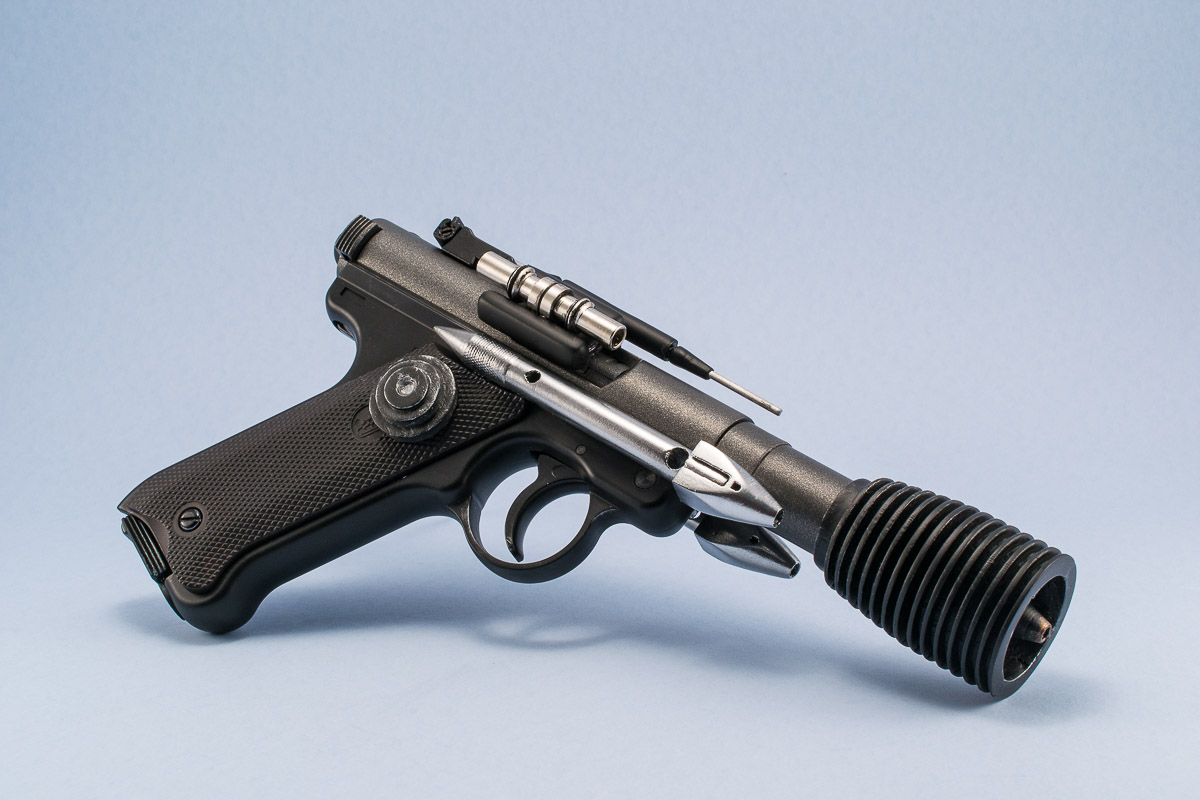
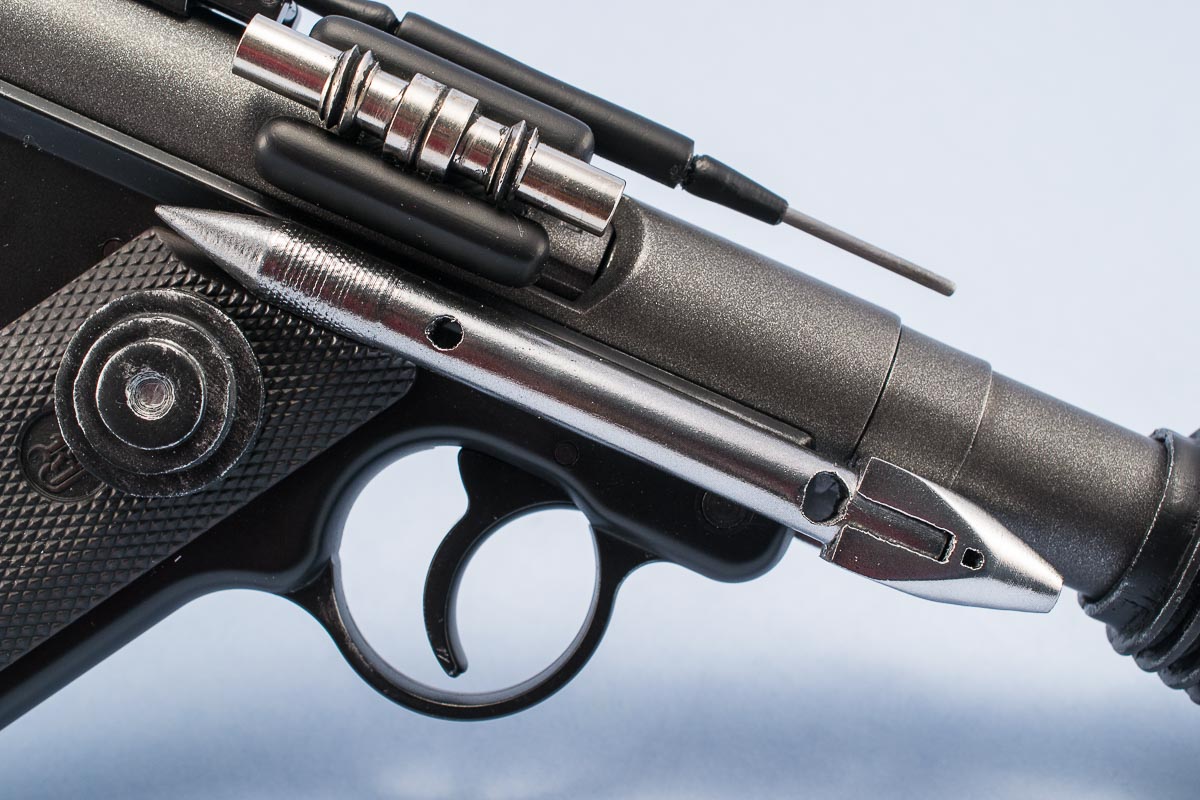
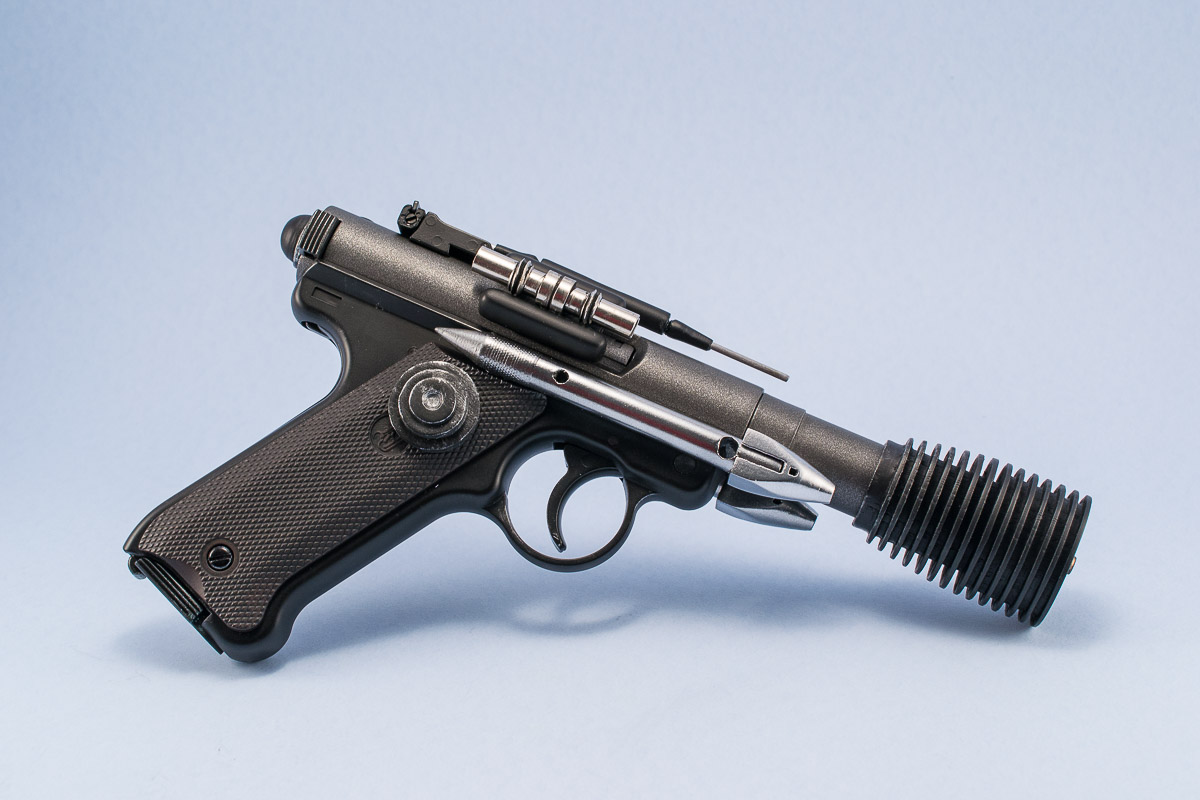
A few photos of the finished product:
DT-12 components
KJ Works MK1 airsoft pistol ~$45
Metal coat hanger (w/ appx 3mm diameter, hopefully you have one in your closet)
PL-259 UG-175 reducers x 2 (optional, can be 3D printed…real metal looks better!) ~$5
3D printed accessories FREE!
If you do not have access to a 3D printer, please check shapeways.com to purchase the 3D printed DT-12 accessories. (NOTE:, using the shapeways parts may require different procedures to attach and assemble the DT-12)
Adhesives
Tools
Flathead screwdriver
1.5mm hex key
200-400 grit sandpaper
Dremel rotary tool (optional)
Surface prep and paints
Bondo Glazing and Spot Putty
Krylon Auto Filler Primer
Rustoleum Espresso in Satin finish
Krylon flat black
Krylon gloss black
Krylon metallic dark metal
Krylon flat clear
Acrylic black
Alclad II Chrome (if using an airbrush) or other metallic silver spray paint
Testors enamels in silver and bronze
Don’t forget to get a holster for your DT-12! You can pick one up on etsy.com
Is there a holster that you recommend that fits well with this build?
Hello, I purchased a DT-12 holster from Darmans Props on Etsy. Here is the link to the product: https://bit.ly/3cT3kw5 I’m very pleased with the holster. My Greedo costume was 501st approved with this holster.