

Previous Story
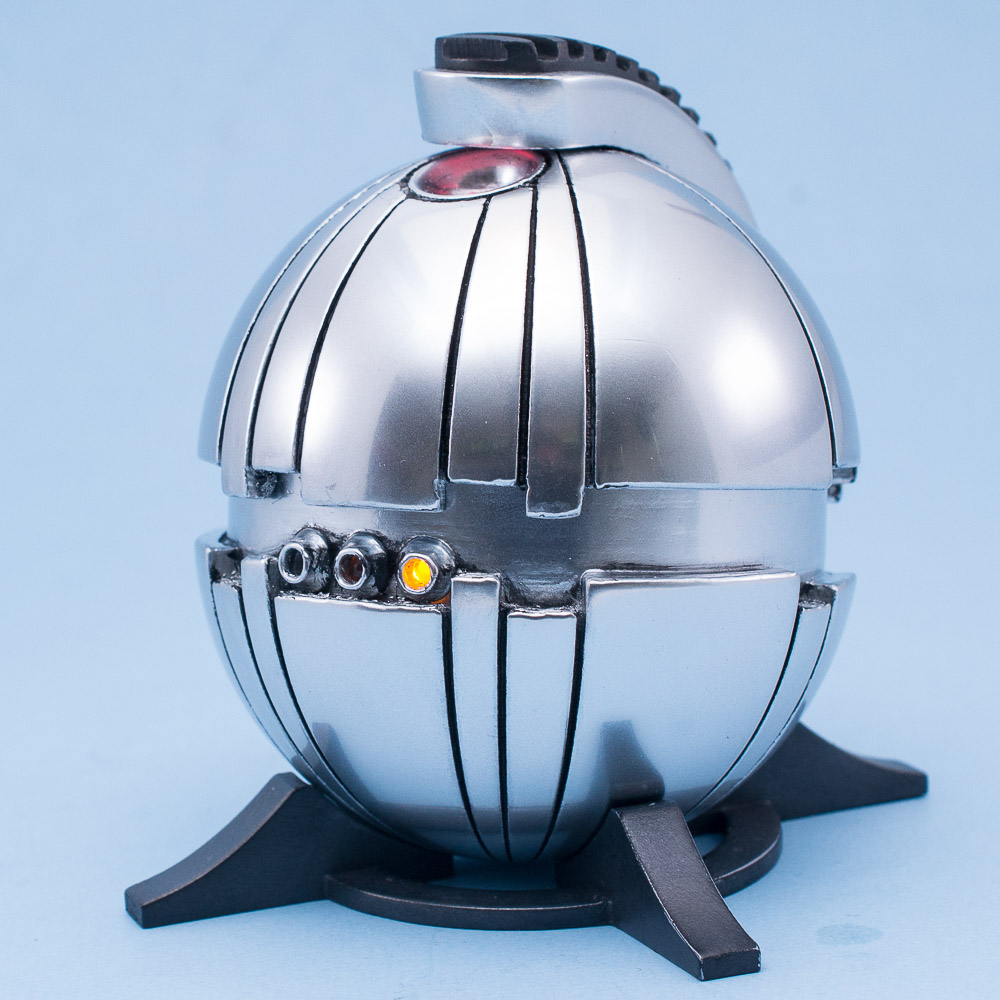
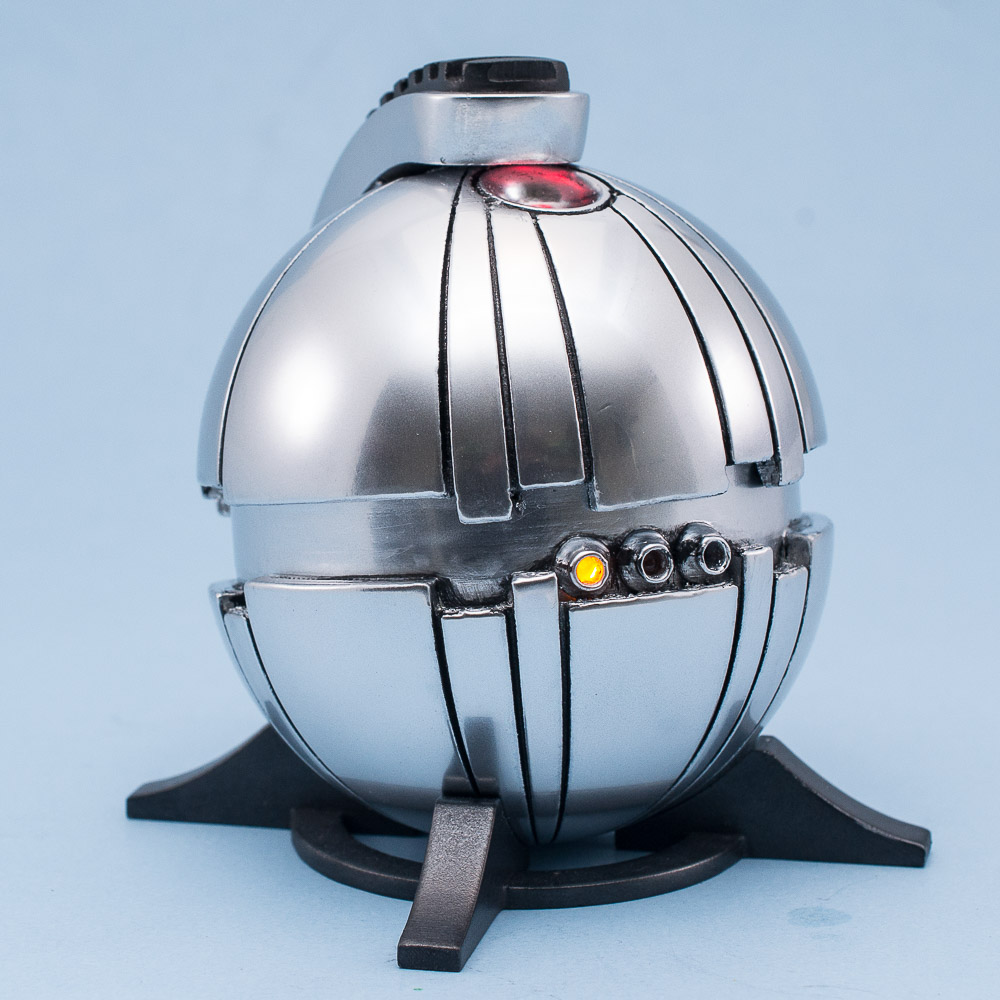
Arduino Controlled Thermal Detonator with LEDs
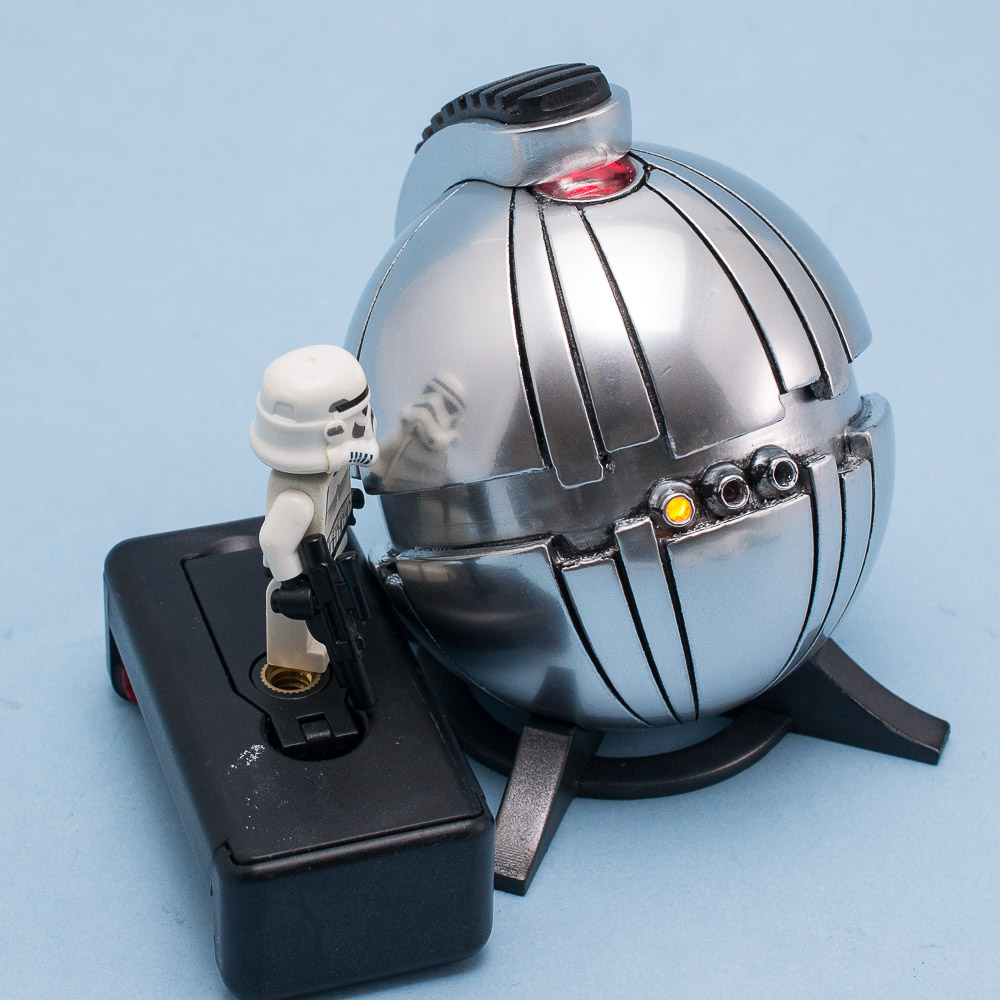
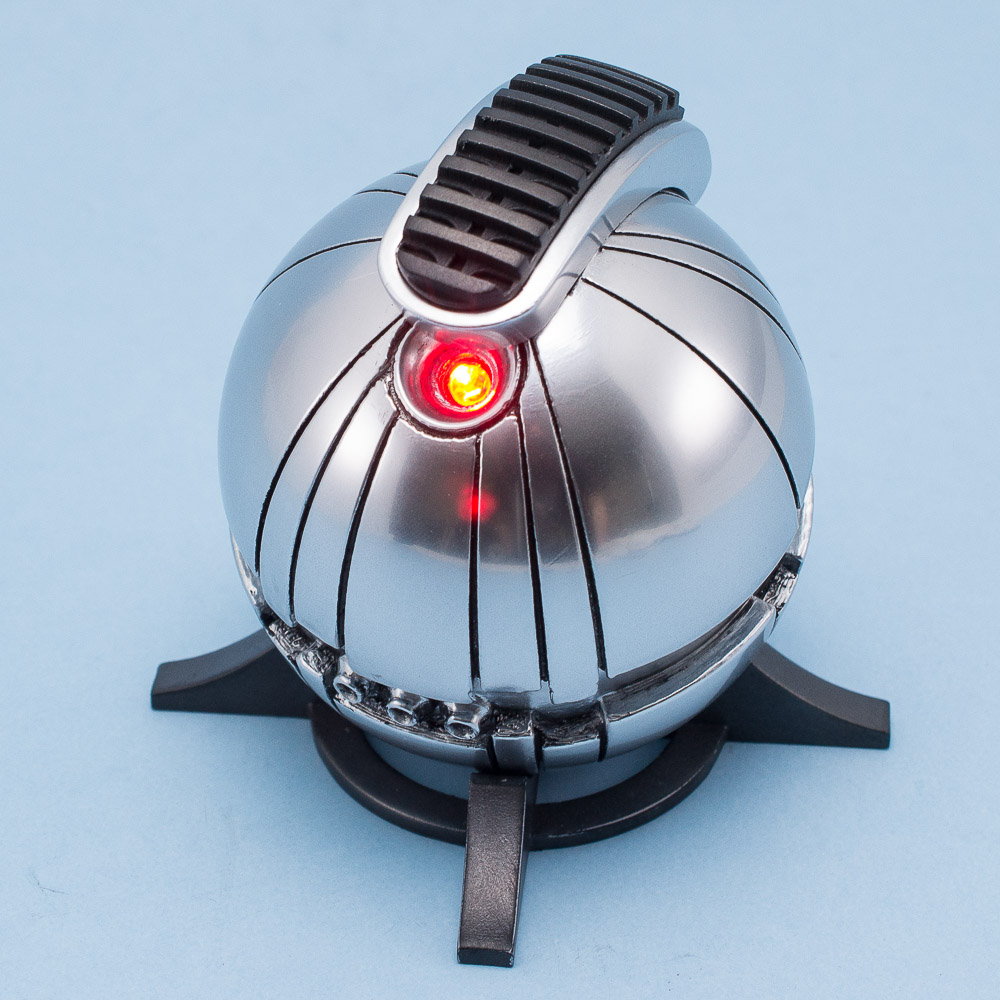
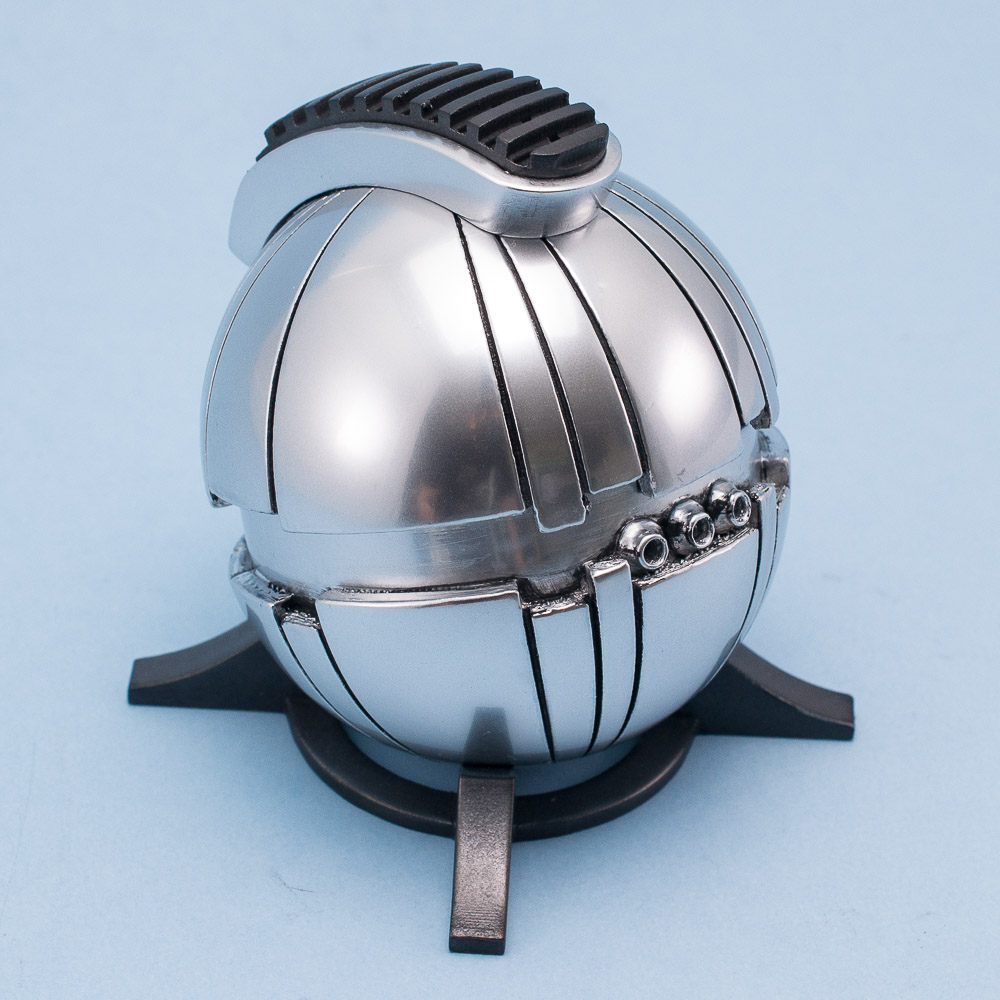
The thermal detonator that Princess Leia (disguised as Boushh the Ubese bounty hunter) flashed in front of Jabba the Hutt’s throne room, is one of the most memorable prop weapons in the Star Wars universe. Its only shown for a few seconds, but enough to make the viewer remember…remember the fear, the click of the thumb activated switch, the menacing blinking lights, and the nerve-wracking countdown “beeps”.
This seemed like a fun project to tackle. It makes a great display piece, and a nice costume accessory. If you have access to a 3D printer, the STL files are available for free on thingiverse.com. If you do not have access to a 3D printer, you can find thermal detonator kits here. Electronics will be used to give the detonator some life. If you are new to electronics, this is a great place to start. Please note, the thermal detonator build detailed in this post does NOT include sound. While it is possible to incorporate sound into the thermal detonator, it requires a little bit more electronics knowledge/experience, and it REALLY makes things tight inside the detonator. If you are interested in adding sound to your detonator, please check this build on instructables.com.
As usual, I have put my build experiences in video format. Please feel free to change any of the methods and materials that were used in this build. There is no right or wrong way to build your detonator. Use your imagination, make improvements to the build, and most importantly…have fun while building!
DETONATOR FILES
Thermal Detonator STL files available on Thingiverse
Orb Display Stand available on Thingiverse
Thermal Detonator Kits available here
Arduino LED code available on GitHub
ELECTRONICS
Arduino Nano (or clone) available on Amazon
Breadboard Jumper Wires available on Amazon
LEDs (3 x 3mm Yellow, 1 x 5mm Red) available on Amazon
Resistors (4 x 160 ohm or greater) available on Amazon
9v battery lead available on Amazon
Omron SS-5GLD Snap Action Lever Micro Switch (or equivalent) available from DigiKey
TOOLS
3D Printer (optional, can purchase thermal detonator kit here)
Sandpaper (120-400 grit)
Filler Putty (Bondo Glaze Spot Putty or Wood Filler Putty)
Airbush (optional)
Rotary Tool (optional)
Wire Strippers (for 22 AWG wire)
Hot Glue Gun
Soldering Iron
3/4 inch Synthetic Flat Shader Brush
BUILDING MATERIALS
Rustoleum Filler Primer Spray
Rustoleum Gloss White Spray (or Gloss Black)
Rustoleum Gloss Clear Spray
Spaz Stix Mirror Chrome or Alclad Chrome (if using an airbrush)
Molotow Liquid Chrome Marker (if not using an airbrush or metallic spray paint)
Rustoleum Metallic Finish Chrome (if using spray paint only)
Pledge Floor Gloss (should smell like a strawberry daiquiri)
Lead Solder
Heat Shrink Tubing
CA Glue (or any adhesive of your choice)