
Previous Story
Customize Your Costume Crate with Stencils
You’ve got an awesome costume, and you have spent some money to protect it while it is in transit. It does its job, it gets your costume from A to B safely…but it looks…like a box. Give it a little personality! Sure, you can put some stickers on it, but sometimes they don’t adhere well to the plastic. Square and round stickers can be secured with a flat layer of E6000 or other strong adhesive. But what about detailed die-cut images? They may be a little pricey, and they may peel off after lugging your armor around. Worry not my friends, with some spray paint and some free templates online, you can give your crate a much needed makeover.
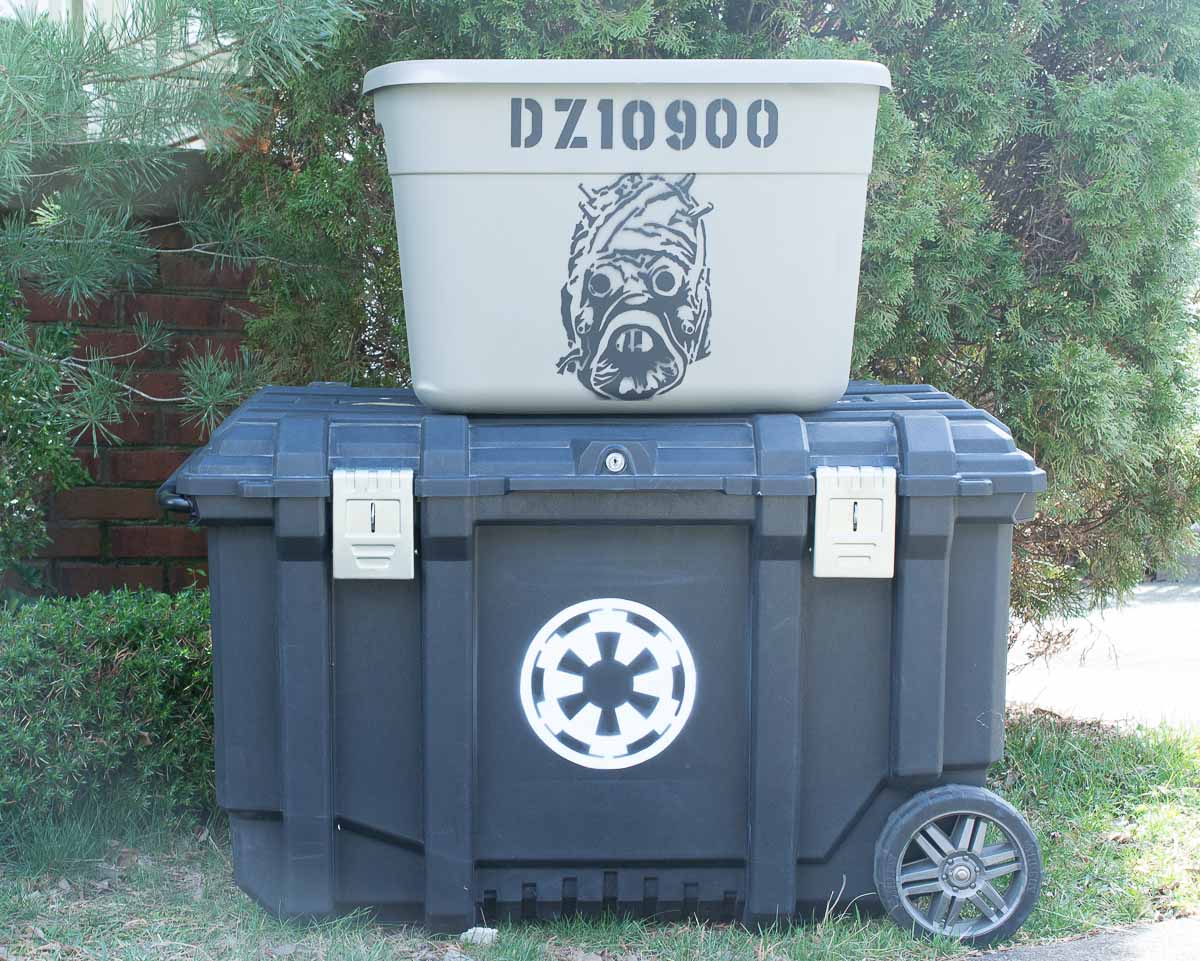
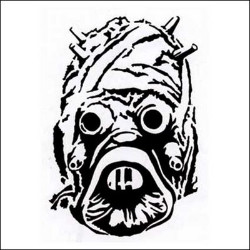
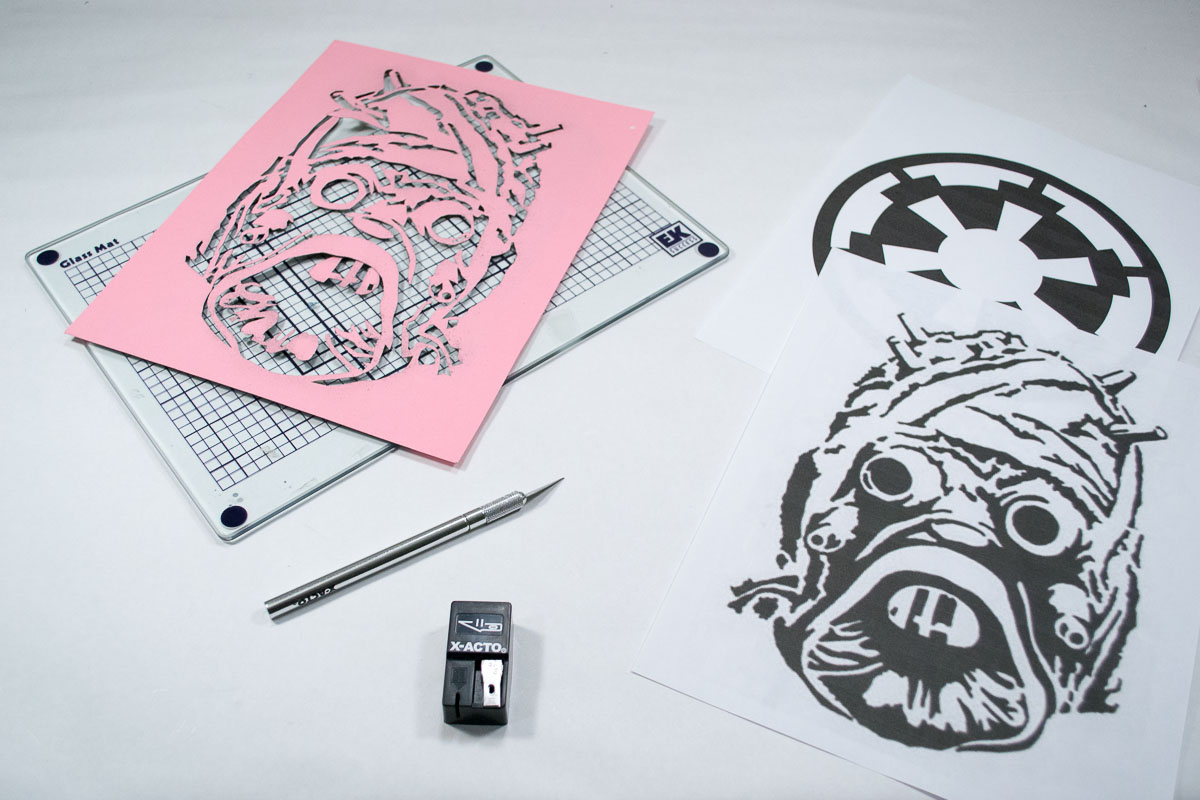
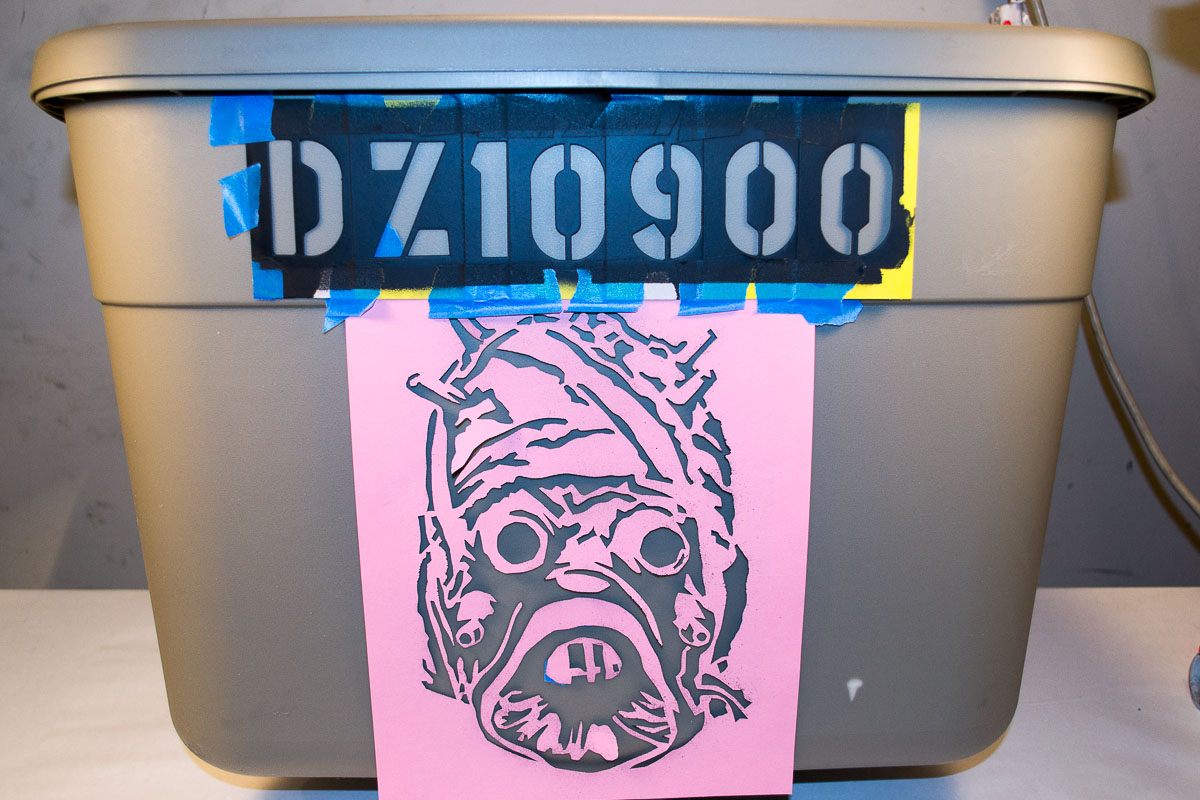
I currently have 2 crates: one for my Sandtrooper armor, and another for my Tusken Raider gear. I found an Imperial cog wheel and Tusken stencil using a Google image search. I blew them up to fit on a piece of letter sized paper. I printed the 2 templates off on card stock NOT standard paper. Cardstock is a little thicker and stiffer which aids in retaining the templates shape after trimming. You can get cardstock at your local craft store. Click on the image(s) to download the template in PDF format.

If you’d like to do lettering, you can purchase pre-cut letter stencils at your local hardware store or Amazon.com and secure them together. I used 2 inch letter stencils.
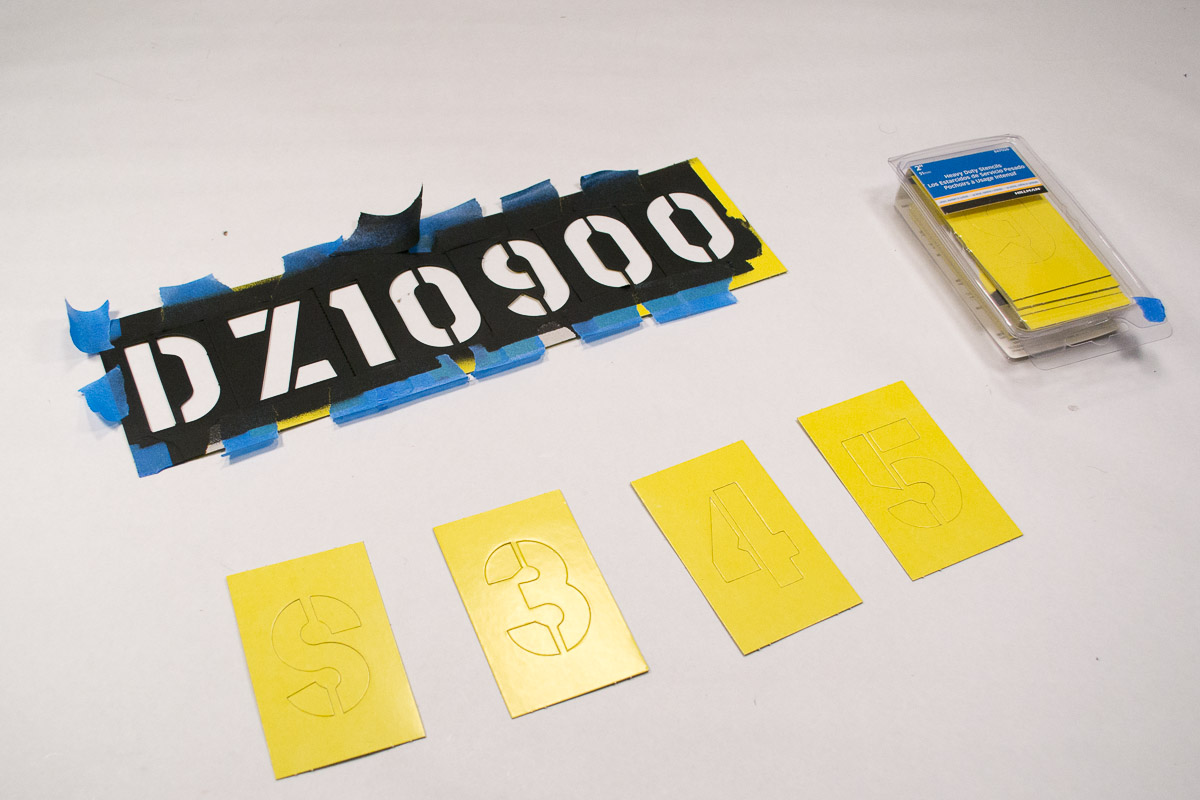
You can also use the same procedures as the images…download a nice stencil-type font online, print it out on cardstock, and cut away. Dafont.com has some excellent (& FREE) stencil fonts. Go to their page and select the Stencil/Army menu option.
Now that you have everything trimmed, place it on your crate. Try to get all of the edges down. DEFINITELY mask off the areas that you do not want painted. Spray paint is quick and easy, but if you aren’t neat with your masking, you will get overspray. It is easily removed with thinner, but save yourself the trouble and use some old newspaper to mask off the areas outside of the templates. The photo below shows the templates applied, but does not show the masks to the right/left of the templates.
TIP: When spraying, keep your spray can moving at all times. Do not hold the can in one place…this will cause runs and pools. Apply light mist coats in a back & forth motion.
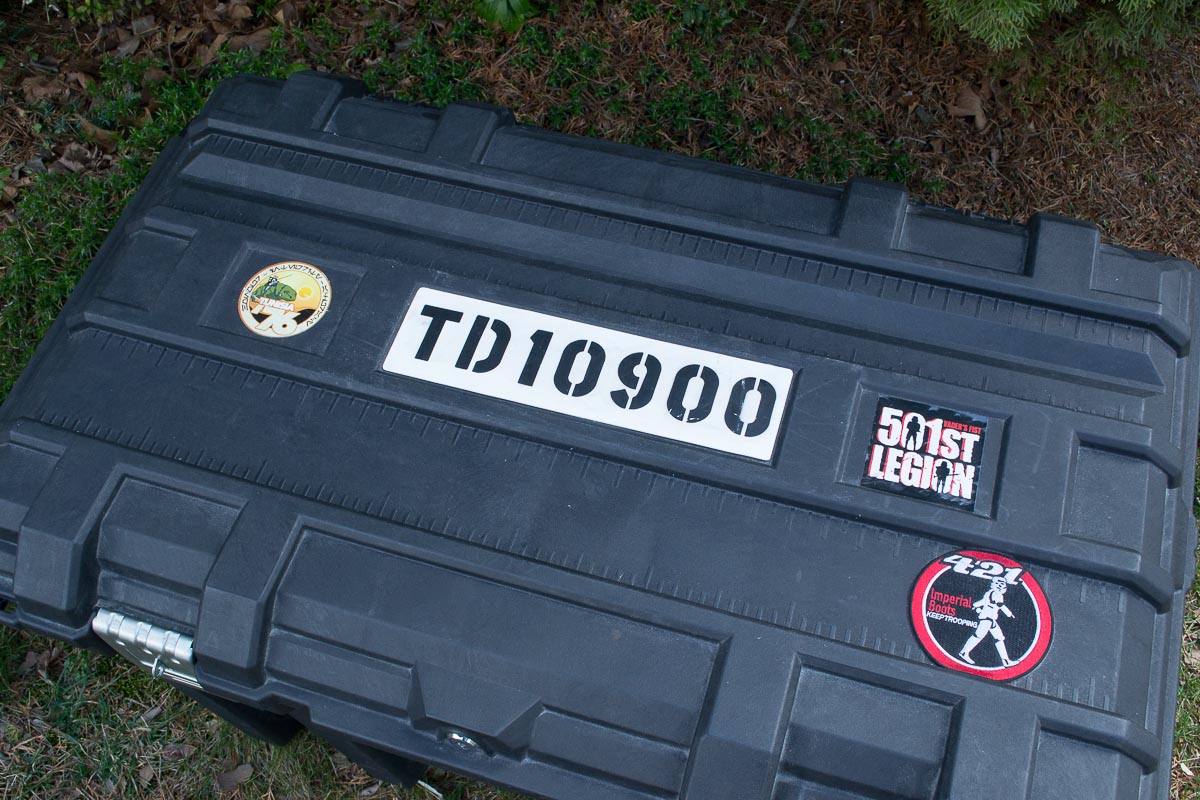
For the top of my Stormtrooper crate, I purchased a plastic “No Parking” sign from Home Depot and cut it down to size to fit in the middle of the top cover. I then applied the letter stencils, sprayed, and secured the ID plate to the crate using E6000 adhesive.