
Previous Story
DIY Cosplay Sound Glove
This project isn’t just for Star Wars fans, its for any cosplayer that has a need to re-create their favorite character’s sounds. Not all of us can replicate Chewbacca’s growl, or give a Tusken Raider battle cry. If your character has unique sounds, you can take your costume to the next level with a 4 button sound glove. Hidden under your costume, you can trigger 4 different sounds by hand, amplified by a small speaker worn around your chest. This project isn’t terribly expensive, nor does it require a lot of time. You can complete the sound glove in just a few short hours, with readily available tools.
The heart of the sound glove is the MP3 board. I purchased this item online at electronics123.com. It comes in 2 versions. One version is thinner, but requires soldering of the battery pack and control switches. The other version is a little thicker, but only requires a small flathead screwdriver to secure the battery and switches. All of the products used in this project can be found below the video.
Let’s get started!
TIP
It is not mentioned in the video, however, it is recommended to tin your wire connections with solder. This will make the wire ends a little stronger, and it will be less likely to slip off of the screw terminals. Tinning the wire connections is highly recommended. Placing electrical tape over the screw terminals may also prevent: loose screws from falling out, and tension relief on the wires.
Materials
Sound Glove Components from Electronics123.com:
4 button trigger MP3 board ~$20
9 volt battery clip or holder ~50cents
Contact switches x 4 ~$1/each
Other components from Amazon:
Wrist Compression Glove ~$10
3.5mm (1/8″) mini to mini cable ~$2
Velcro ~$3
Voice Amplifier ~$25-$50
Recommended Tools
Scissors
Small Screwdriver
Needle/Thread or Sewing Machine
PC/Mac
USB to micro USB cable
Wire strippers
Acknowledgements:
Soundtrack: “Epic Trailer” by: Xedogen, available at AudioJungle
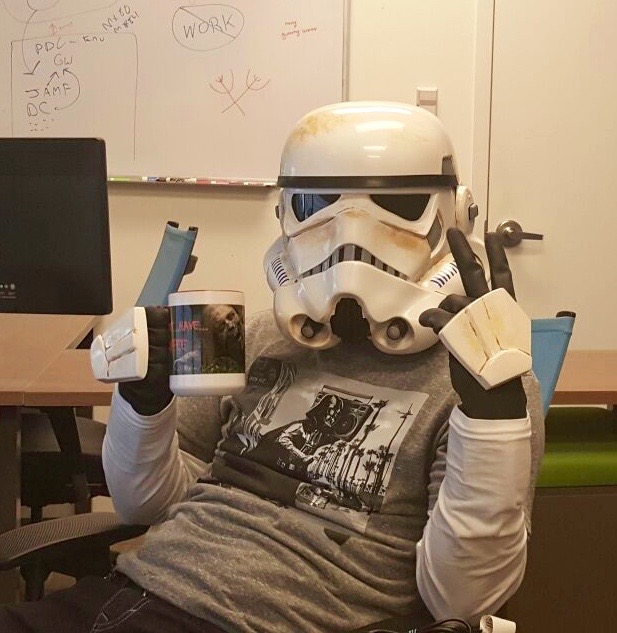 Name: HappyTrooper
Thanks for these tutorials. I have just went and started my Jawa glove and your video literally has this working in no time!!!
Thanks Again!!! I am looking forward to trying the DLT19 as I am finishing up my SnowTrooper next!!