
Previous Story
Tusken Raider Mask Build
After completing my Sandtrooper armor, I was anxious to get started on another Star Wars costume. The Sandtroopers were stationed on Tatooine, the planet where it all began. I decided to remain on Tatooine and go with a Tusken Raider costume.
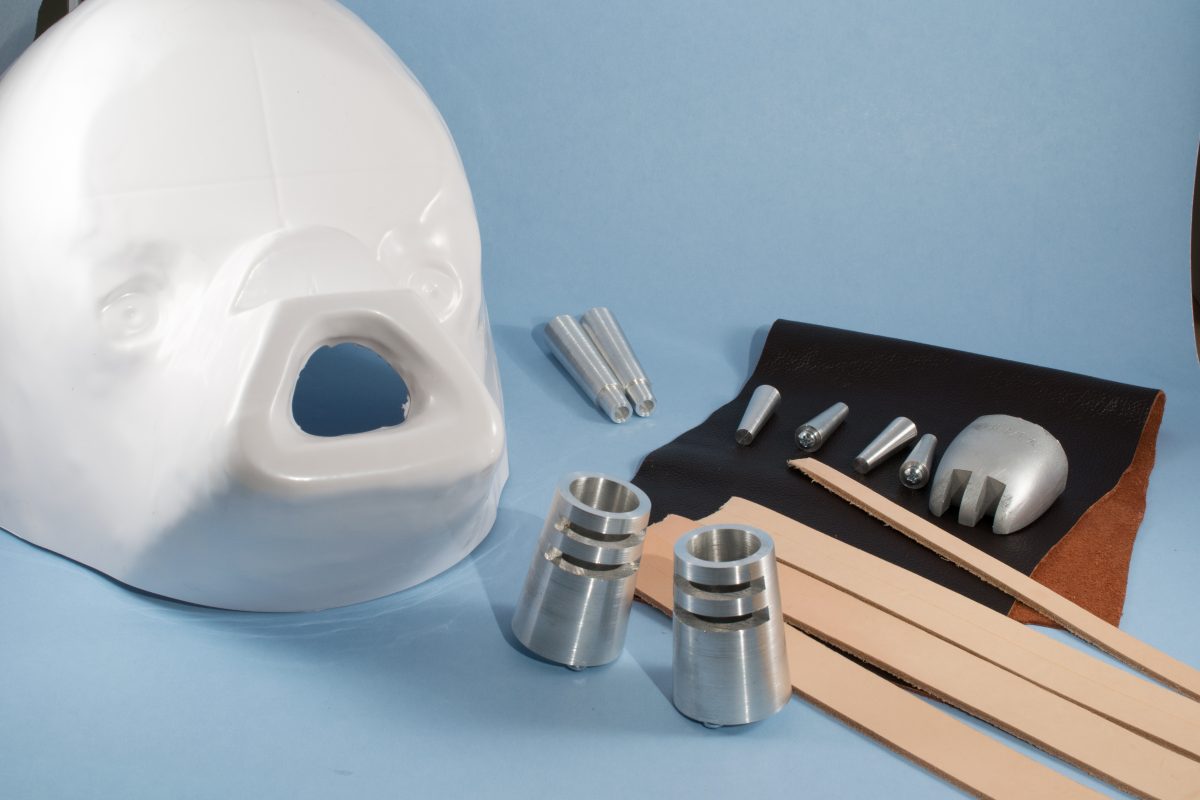
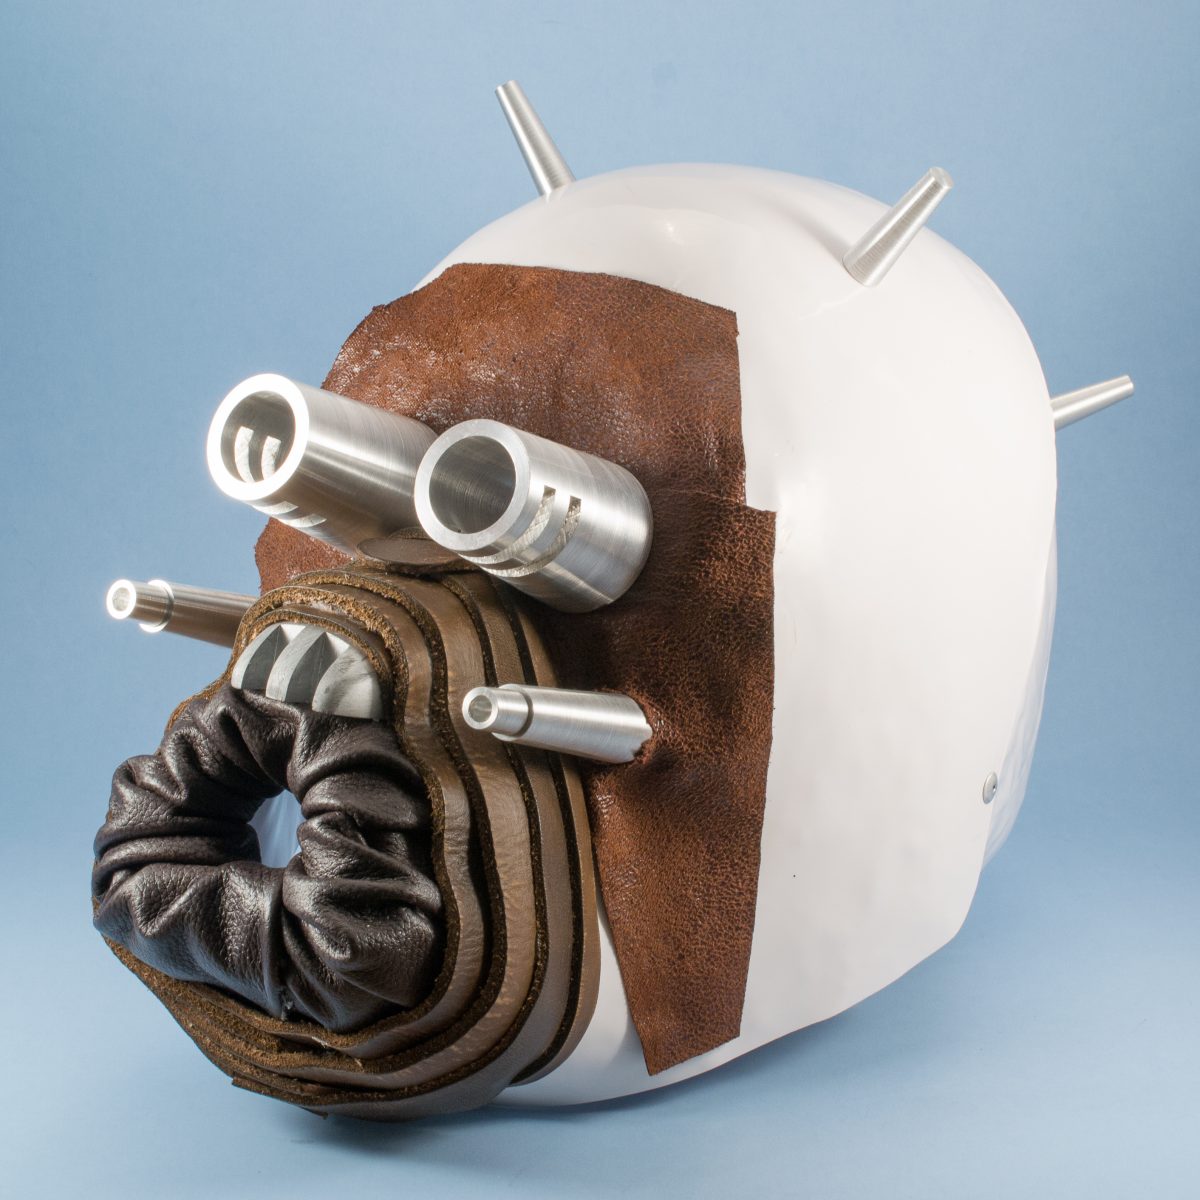
To me, the most important part of the Tusken outfit, is the mask. I roamed around the Krayt Clan forums and researched the available mask kits that were available. I decided on Darth Hair’s kit with aluminum parts. Darth Hair (Jeff), also offers the kit with resin parts. He can be reached via message on Facebook and his products are available for sale on Etsy. Below is a picture of the kit contents. There is a head shell, aluminum (or resin) eye stalks, blood spitters, and head spikes. The nose-piece is resin. In addition, there are leather strips for the snout, a sheet of leather for the mouth, pop rivets for the head shell, a hard-hat liner, duck cloth, and screening to disguise the wearers eyes and mouth.
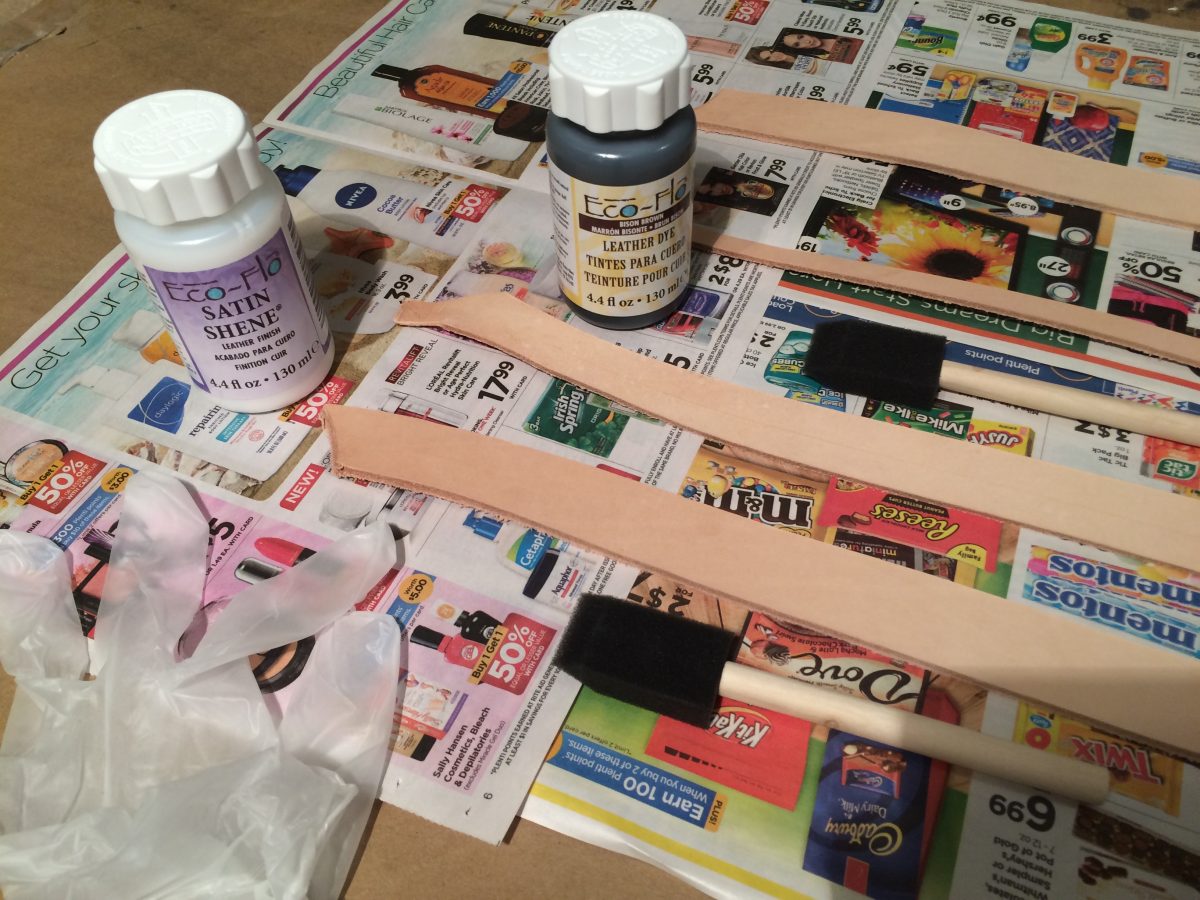
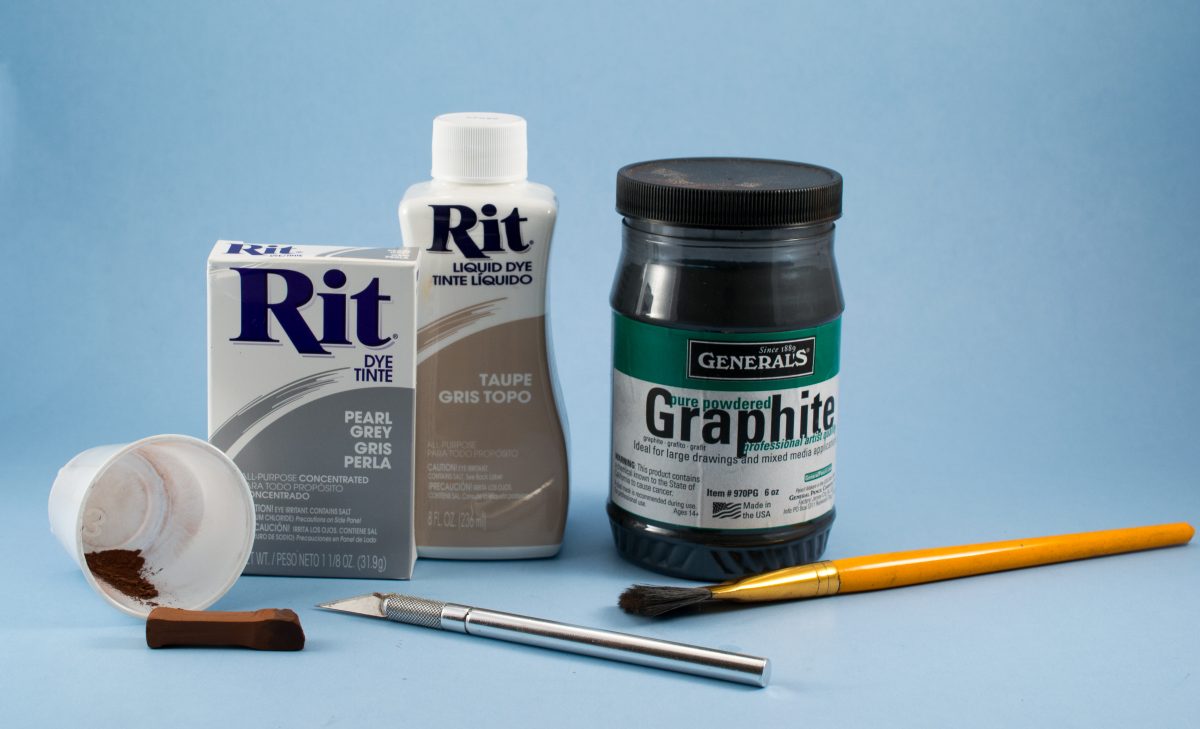
The first thing that I did was buy some leather dye and dye the snout strips. I went with Eco-Flo in Bison Brown and topped off with Eco-Flo Satin purchased from amazon.com. I didn’t know anything about leather dying, this video helped me. I applied the dye with a craft sponge. After dying, I applied a coat of leather protection in a satin finish. After it was dyed and dried, I bent the leather back and forth until my hands were sore, that gave it a worn appearance, and made it a little more pliable.
I followed Darth Hair’s videos: part 1 and part 2 for drilling out the eyes, blood spitters, nose, and head spikes. I did stop following at the 7 minute mark on part 2 when he started applying the wraps. I think his videos are more of a rough guideline and also to show how quickly one can build his mask. You don’t need to follow his instructions to the “T”.
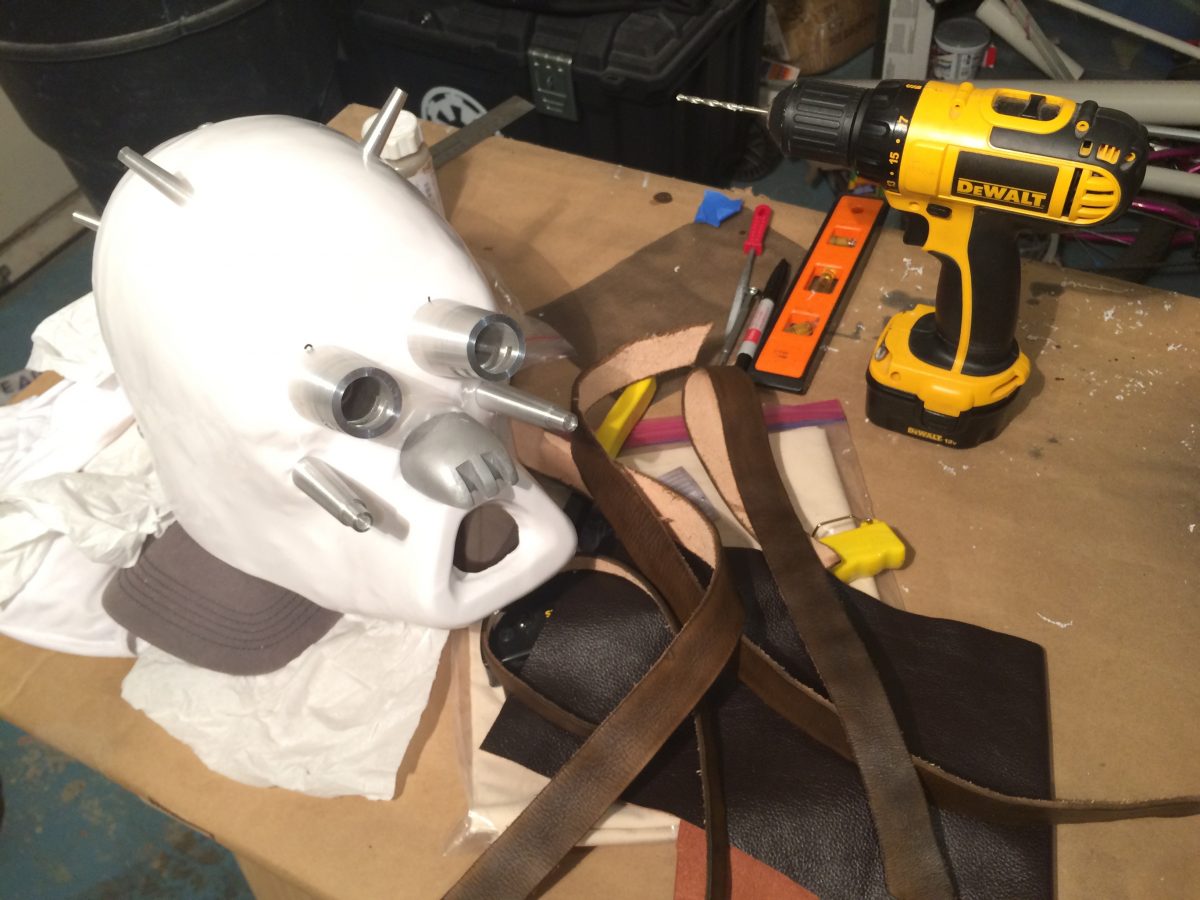
Straying from the video, I applied some leather around the eyes and blood spitters:
All that was left was to apply the wraps. I did not use Darth Hair’s supplied fabric. There was nothing wrong with Jeff’s fabric, its just that I had a huge swath of duck cloth from Joann’s that I purchased for my boot/arm wraps. To keep things consistent, I used that. I pre-washed the entire sheet of duck cloth, dried on high heat, and then ripped a ton of strips of various widths, between 1 inches and 3 inches. I used the Rit Dye washing machine method using 1 bottle of taupe and 1 box of pearl gray. I really like the results. I followed Rit’s instructions (including the 1 cup of salt) on how to dye with the washing machine. It was pretty easy. After dyeing, I threw all of the strips in the dryer and they got nice and frayed. While the strips dried, I ran an empty wash cycle with bleach just to clean out any dye.
I began applying the larger strips first, just to get coverage. No particular pattern, just random. I used a combination of hot glue and E6000 (a tip I picked up on the Krayt Klan forums). I applied smaller strips on top to try to show variation in the strip widths. Finally, I applied some weathering. I have a jar of powdered graphite that I use for faux gunmetal finishing on my prop weapons. I tried sprinkling some graphite powder on a test strip, and liked the results. I used a fat brush loaded with graphite powder and sprinkled it along the frayed edges. I did not touch the brush to the strips, I just let the powder fall off in random areas. If it was too heavy, I blew some off. After that, I just rubbed it in with my fingers. It gave it a nice dull gray dirty appearance. I used the same technique with a brown artist’s pastel. I shaved off a bunch of pastel using the back side of an xacto blade to produce a fine powder. I used the same brush dabbing technique, just letting some powder fall and then rubbing it in. I did not use much brown. Looking at reference photos, I can’t see much brown, the gray/black is the prominent “dirt” color. I used the brown sparingly just to give it a little depth.
Finishing products:
I used Darth Hair’s supplied helmet liner. I secured it with industrial-strength velcro. Because the face pieces are aluminum (and there’s a pound of leather on the snout), the mask is very front-heavy. I was worried about comfort with the hard-hat liner. I was pleasantly surprised, it fits securely, and doesn’t hurt my head. In the pic below, you can see I made a mistake with the eyes on the initial drill. The side eye vents are supposed to be offset, I had them even. No biggie, can’t see the holes.
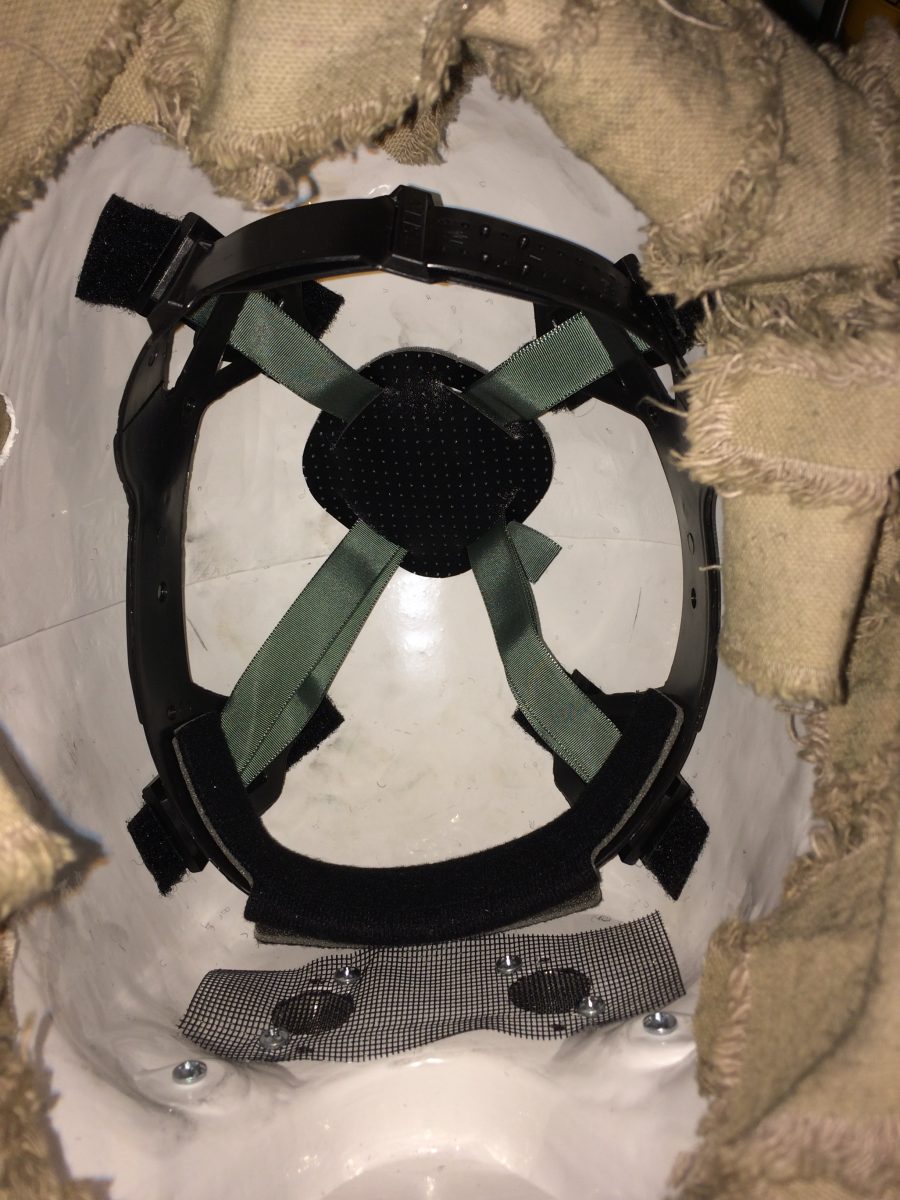
I folded the strips inside the helmet randomly. No loose hanging strips, there is an “edge” on the bottom of the helmet. I ran some 220 grit sandpaper around the snout to rough it up. All done!
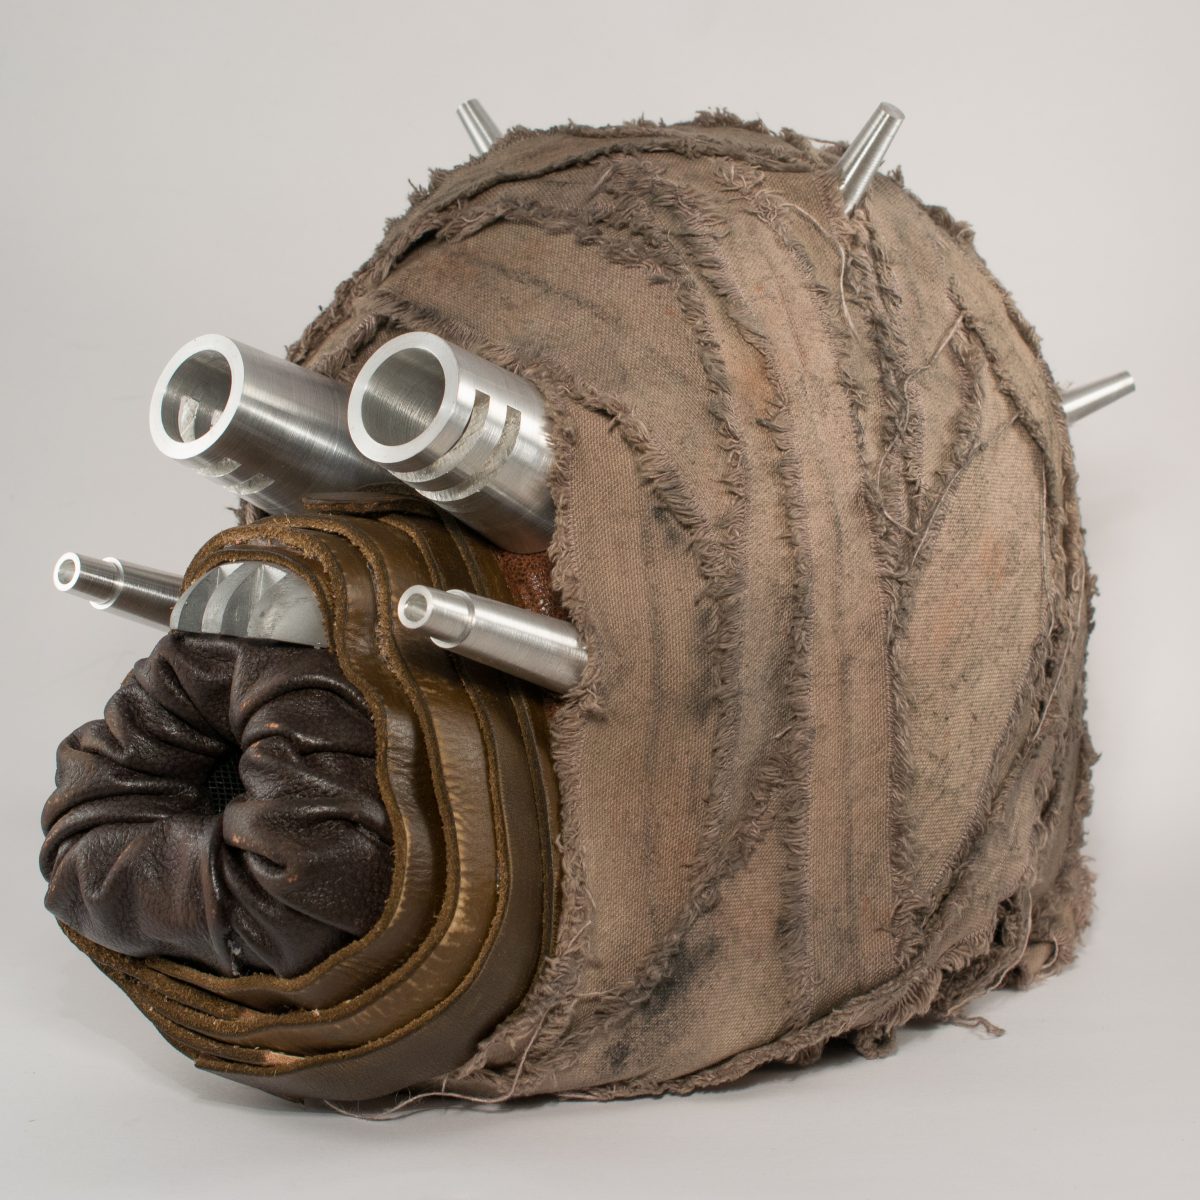
If you are looking to join the ranks of the Tusken Raiders, I highly recommend Jeff’s kit. It is a fun build, its at a nice price point, and it looks incredible. Part of me is sad that it is now finished, I really enjoyed working on this, can’t wait to get approval from the 501st and go trooping with this mask!
Great job! Thanks for the kind words about my kit.
Jeff
Jeff! What’s up man!? You are the first celebrity to post on my blog. Thank you! You put out an awesome product, thanks for keeping all of us Star Wars fans happy. Not just the Tuskens, but also the Rebel pilots. I’ve trooped with a few folks from the Rebel Legion, and they too have Darth Hair helmets. They LOVE them. Here is a pic of me and a Rebel pilot sporting one of your helmets: https://goo.gl/y4Xdtv
Thank you for writing in and leaving a comment. Keep up the great job, and thanks for putting out awesome kits! If you have direct links to your products, I’d be happy to put them on my page.